New Year, New Catalog: Ice Cream Corner

So far, one of the few good things about the onset of 2021 is the launch of Stampin’ Up’s January-June Mini Catalog, which features charming new stamp sets and products. I’ll be introducing some of these sets to you over the next few weeks. I’m starting with the Ice Cream Corner Product Suite. I know, it’s strange that it’s still January and I’m pulling out the ice cream set, but I live in the Pacific Northwest and we get a lot of rain and gray skies, especially during the winter, and the colors in this suite are bright and cheerful and everyone needs some bright and cheerful in life right now. Yes, at the moment I’m more inclined to want a cup of hot chocolate with whipped cream on top than a a popsicle or ice cream cone (especially since my husband keeps opening the window to his office because he wants fresh air), but it gives me something to look forward to.

One of the great things about the January-June Mini Catalog is that while some of the product suites are in the usual $100-150 rage, there are a few in the $50-$100 rage. This is one of them. Without further ado, I present to you Ice Cream Corner! The suite consists of the items pictured below. (Of course, you can always buy the items a la carte.)

Product List

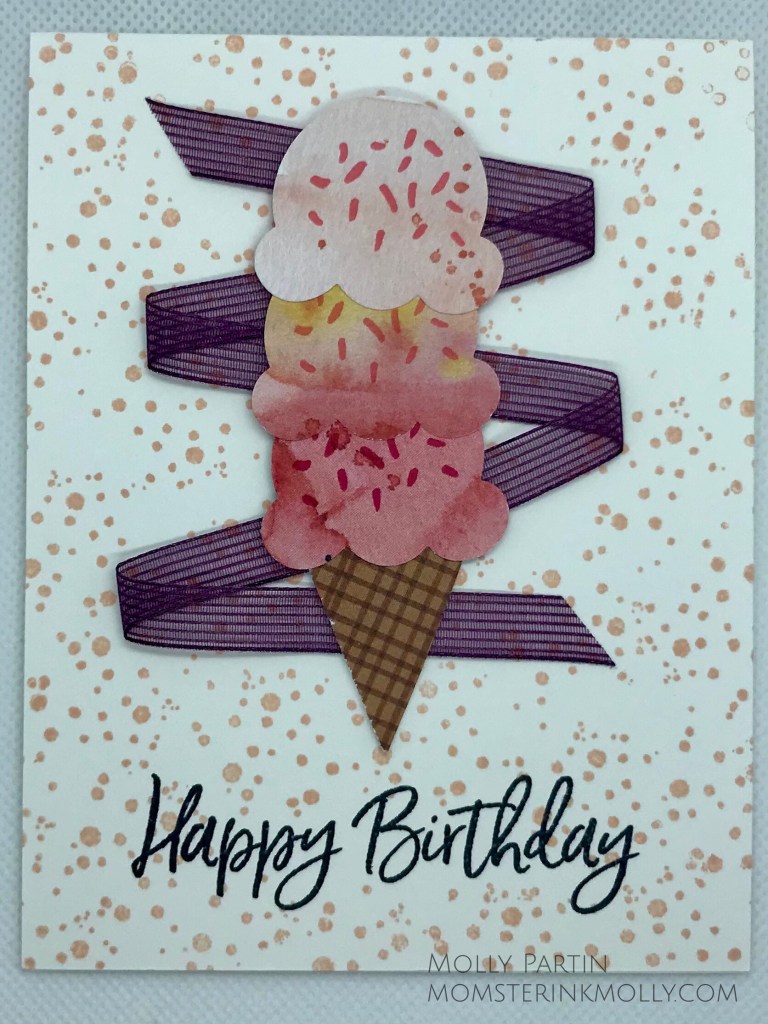
The color palette for the Designer Series Paper is Terracotta Tile, Old Olive, Bermuda Bay, Blackberry Bliss, and Cinnamon Cider.

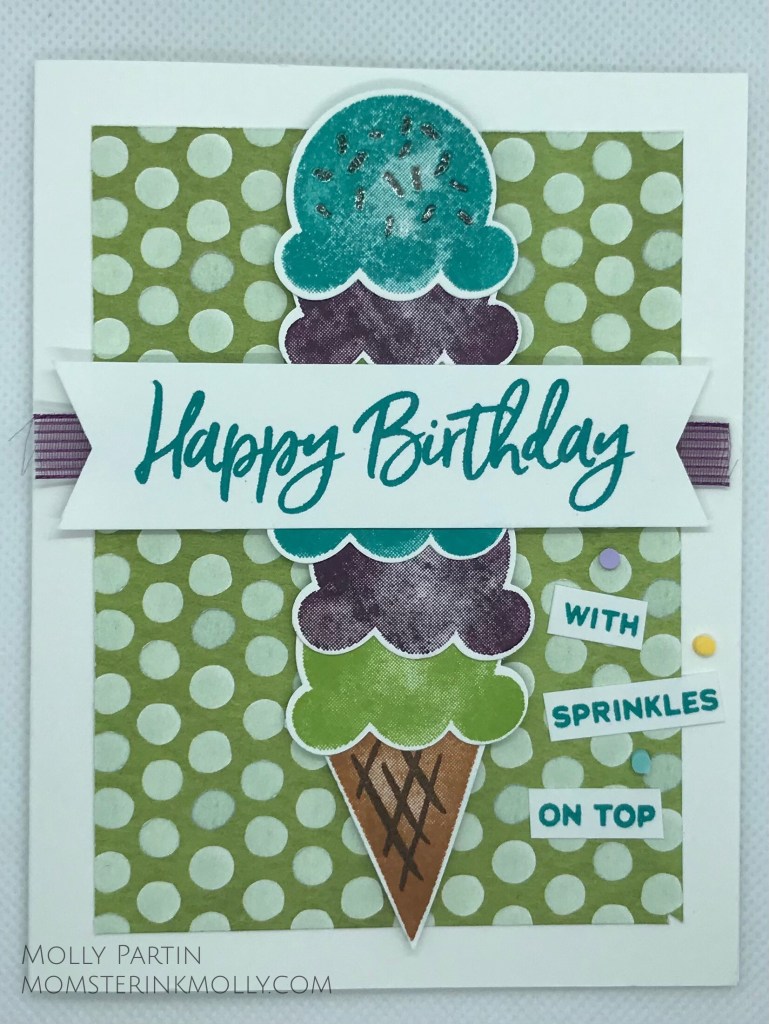
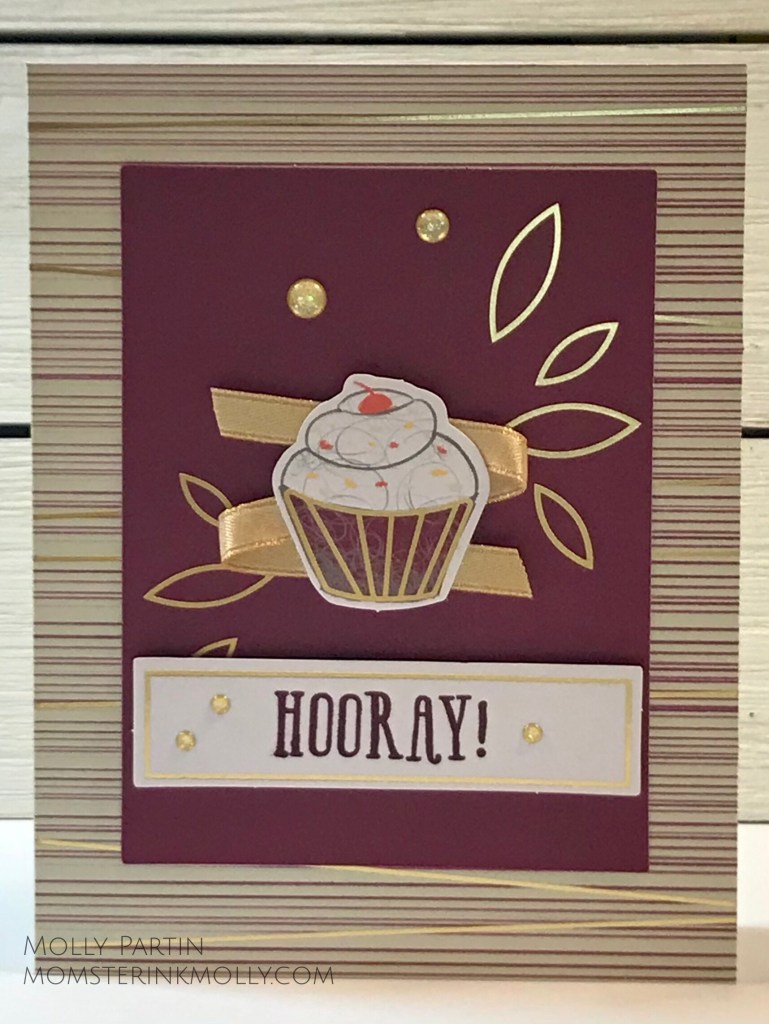
When I was a kid and my family would go to Baskin Robins for ice cream, I always fantasized about ordering a cone with at least three scoops of ice cream on top. Of course, my parents would never let me, which now that I’m a parent myself I completely understand why. This stamp set helped me fulfill my fantasy of having multiple scoops of ice cream without all the calories and sugar. Here are my cards:

Thanks for reading and I’ll be featuring other stamps sets and products from the new catalog over the course of the next few weeks.

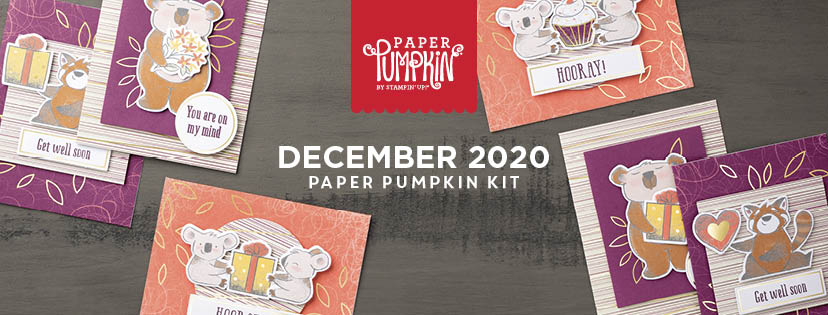
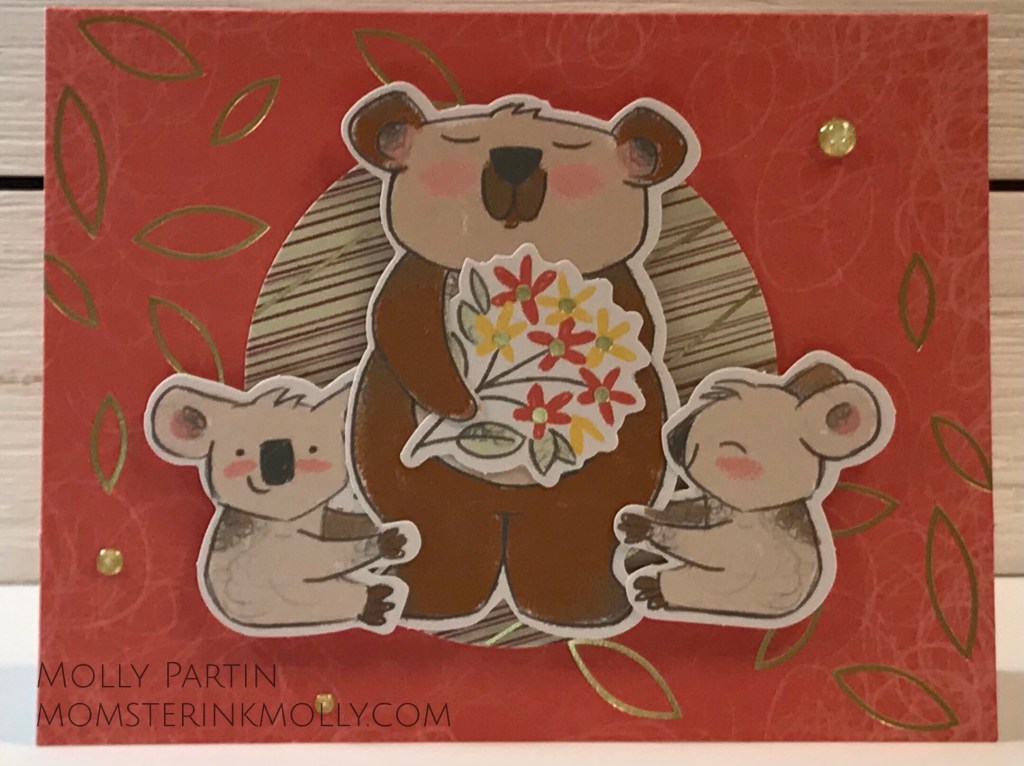
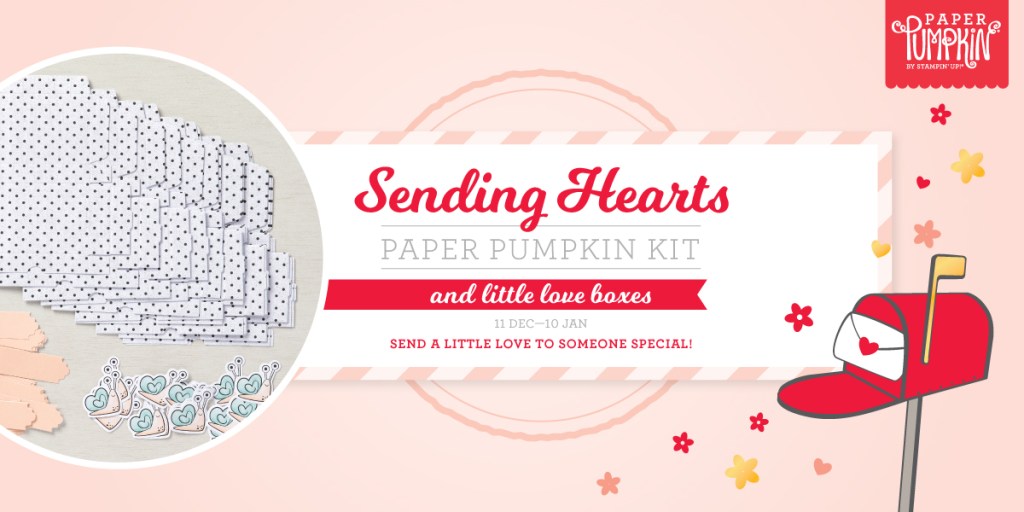
In other news, the subscription period for the February Paper Pumpkin will be open from January 11-February 10. Click the picture below for more information and to subscribe. Then, check my blog toward the end of the month to see what creative ways you can make alternate projects from the kit.

December 2020 Paper Pumpkin: Beary Comforting

Happy New Year! For my first blog post of 2021 I’m featuring the December 2020 Paper Pumpkin kit called Beary Comforting, an all-inclusive paper-crafting subscription box from Stampin’ Up. This kit contains all the supplies you need to create twelve cards with coordinating envelopes. It also includes a Rich Razzleberry Stampin’ Spot and a photopolymer stamp set with the images pictured below.

The fun thing about this kit is that the animals were designed to be holding items. In addition to the single koala bears, the kit includes cutouts of a zany raccoon. You have your choice of several items for the animals to hold–a cupcake, a gift, a heart, and a bouquet of flowers. Although the cards look great in their own right, I wanted to add a little extra embellishment and I found that the Gold Glitter Enamel Dots and the 1/4″ Gold Shimmer Ribbon were perfectly suited to the job. My favorite modification to the kit was cutting the bow off the top of the gift cutout, flipped it over, added a tiny square of Kleenex and made it into a box of tissues for get well soon cards.

I always like to feature at least one card that doesn’t include any elements from the kit other than the stamp set. I call it my “stamps only” card. I copied an idea from another Stampin’ Up demonstrator, April Jensen, to create the the patterned panel on the left. The panel on the left is from the Oh So Hombre designer series paper featured in the upcoming Sale-a-Bration catalog, which will go live on January 4th. The picture doesn’t show it well, but the Rich Razzleberry paper behind the koala bear is embossed with the Greenery Embossing Folder so there’s some raised foliage behind the bear.

Product List

If you send out cards for Valentine’s Day, anniversaries, other celebrations of love the January 2021 kit, Sending Hearts is for you. The kit makes eight cards and comes with oodles of heart-shaped elements and paper pieces in red and pink. For those who share treats at Valentines Day, an add-on containing 20 tiny, printed boxes and 24 die-cut, heart-shelled snails and sentiment labels is also available to Paper Pumpkin subscribers beginning on January 1st. Subscribe to Paper Pumpkin by January 10th to get this box.

Sucker for Snowflakes: Blues Edition

That’s right, I’m a sucker for a good snowflake stamp set. Every year, I tell myself not to buy another one because I have so many. Then I go and get another one anyway. I’ve already vowed to have more control next year, but this year, I couldn’t resist Stampin’ Up’s Snowflake Splendor Product Suite. The suite consists of:

Product List

One of my favorite things from this suite is the Winter Snow embossing folder. Not only does it work well with the other products in this suite, it elevates any other holiday card/project you might be designing.

I also love the “reverse” dies from the So Many Snowflakes set, and I’m featuring one of them in today’s post.

Sometimes when I design cards, I get hooked on one color. For this series of cards the color was Night of Navy.

This is the first card I made:

I embossed a piece of the blue watercolor-looking paper from the Snowflake Splendor designer series paper pack with the Winter Snow embossing folder. I just love the texture it provides! I used white glitter paper from my stash of retired products and placed it behind the snowflake cutout. The card was fairly simple and very satisfying to make.

My next two cards are meant to be opposites of one another. The insides of the cards use the “Thank You Snow Much” sentiment from Snowflake Wishes stamp set. We always think about sending cards before the holidays begin, which isn’t a bad thing per say. These cards however, are perfect thank you cards for the gifts and acts of kindness you receive over the holidays.

Side note: I used to leave the insides of my cards blank so that I could stamp a sentiment tailored to the recipient. However, I seem to pick cards for people at the last minute (I mean heading out the door kind of last minute) and never have the time to dig out an appropriate stamp for the interior of the card. Now, I stamp the sentiment beforehand, and if you’re the last-minute card selector that I am, I encourage you to do the same. I’ve made so many cards that I now seem to have one for most occasions and if I want to make the card truly personal, I can always handwrite it.

Additional supplies:


Purchase either the Snowflake Splendor Suite or the Snowflake Wishes Bundle (the stamp set and the dies) and I’ll send you a PDF tutorial on how to make the three cards in this blog post.

Happy Stamping! (That sounds cheesy, I know, but I’m going with it.)

What’s in my On-the-Go Craft Tool Box?

I’ve just spent the last three days at the Inky Fingers Crafting Weekend retreat. My 16 year-old daughter came with me and we loaded up the back of my Forester with all manner of paper-crafting supplies. When I say loaded up, what I’m really saying is stuffed to the brim. We had to get a baggage cart to bring it all in to the hotel.

Not all crafting events require a trunkful of supplies though. That’s why I’ve created my own On-the-go Tool Box that packs tightly into one of Stampin’ Up’s wide stamp storage cases to use when I attend smaller workshops where most everything else is supplied.

Here’s a picture of what is stored in my tool box:

  1. Acrylic stamp block
    I prefer Stampin’ Up’s Clear Block D. It measures 2-7/8″ x 2-11/16″ and doesn’t take up a lot of room in the case. I’ve found that it fits most stamps I use. I also love how the block is grooved on the sides for easy gripping.
  2. Double-sided Tape
    Most people prefer a certain type of adhesive: glue, tape runner, glue dots. Some people love tape runners and are very adept at using them. Tape runners will also fit perfectly in your tool box. I, however, use double-sided Scotch tape, mainly because I’m about as coordinated at using a tape runner as I am at tying a bow (you won’t see a lot of bows on the cards I design). Stampin’ Up recently introduced two new tape runners, Stamp ‘n Seal and Stamp ‘n Seal+. I’ve used these a few times now with success, meaning that I didn’t end up with sticky fingers and a roll of unwound tape that I can’t roll back into the applicator. I have to use up my supply of Scotch tape before I fully commit to them though.
  3. Glue Dots
    Glue dots are great for sticking down tiny things. Paper Pumpkin kits come with more than enough glue dots to finish the projects you make so I have oodles of sheets of them. You can also order a roll of glue dots from Stampin’ Up or find other versions at your local craft store.
  4. Stampin’ Dimensionals and Mini Stampin’ Dimensionals, also known as “foam popper upper thingies”
    The purpose of Dimensionals is to do exactly what is in the name. They give your projects dimension by lifting elements off the card base. You can also find adhesive foam squares at your local craft store.
  5. Paper Scissor Snips
    The purpose of scissor snips it to precisely cut out small things. Mine are Cutterbees, but Stampin’ Up also sells a nice pair.
  6. Bone Folder
    Bone folders smooth down the creases in your cards; allowing them to lie flatter. In my experience, most bone folders are created equal. You can buy a a bone folder from Stampin’ Up and most local craft stores also sell them.
  7. Pen & Sharp Pencil
  8. Take Your Pick tool
    The Take Your Pick tool is a paper-crafter’s dream multi-tool. One end has tacky putty end that easily picks up sequins, paper accents, and other small objects. The other end has 2 changeable, double-ended tips; one with a with paper piercer and mini spatula and the other with small stylus, and large stylus.
  9. Water color painting pen
    A water color painting pen holds water for easy water color painting. Most of the time when I’m at a workshop where water coloring is required the host usually provides one of these. It is however nice to have your own so you don’t have to wait your turn to use the one provided. Stampin’ Up sells a set of three of these babies with varying brush thicknesses.
  10. Tweezers!
    I love these reverse-action tweezers that I found on Amazon! Once you grab something, they hold on to the item even when you stop squeezing.

Chillin’ with my Gnomies

The Gnome for the Holidays stamp set from Stampin’ Up’s August–December 2020 Mini Catalog was a must have for me. I mean who doesn’t love a good gnome pun? Well, probably people who don’t like gnomes or people who don’t like puns, but I’m going to pretend that those people don’t exist and share my excitement about this set.

I found so many fabulous examples of cards made with this set on Pinterest and Stampin’ Up groups on Facebook. I CASEd many of them and still haven’t started designing my own. If you click the right arrow on the pictures of my cards, you can see the cards that inspired my designs.

First, I’m going to share a card inspired by this card made by Karla Anders. Her card uses traditional Christmas colors but I decided to jazz mine up by using the color scheme from the Snowflake Splendor product suite in Stampin’ Up’s August–December 2020 Mini Catalog.

Some day I’ll figure out how to photograph glitter paper well, but for now we’re stuck with this. Here’s my card:

My next card is inspired by one made by Garry-Pauline McArdle, a Stampin’ Up demonstrator from New Zealand. I switched up the design by using elements from the Snowflake Splendor product suite.

My final card was inspired by this card from Christy Gridley.

I brightened up the card by using Pacific Point paper. I didn’t have the pretty flocked vellum that Christy did, so I made due with plain vellum and a retired embossing folder called Scattered Sequins.

Product List