 Before the dawn of die-cut rubber and photopolymer stamps, we Stampin’ Up customers had to cut out our own stamps. They arrived on a sheet of rubber attached to foam mount. We used special scissors with tiny points and giant handles to snip out our stamps and then mount them to wood blocks. People sometimes altered the stamps–cutting a sentiment from one stamp and mounting it on a spare wood block. Luckily, we don’t have to snip our own stamps anymore, which is why I forgot about manually trimming until a few people on the PAPER PUMPKIN FANCLUB Facebook page brought up how they used an Xacto-knife to separate some of the shapes from the December kit, Day by Day, to make the stamp set more versatile. This was a fabulous idea. While some people divided their stamps more thoroughly, I only separated this one:

The picture looks like a badly drawn emoji, but I ended up with three sizes of ovals. I used to make some of my favorite cards.
My first card is inspired by a card by Rachael White (a woman I have never met) which she posted on Facebook. (Seriously, if you want to see oodles of creative alternate Paper Pumpkin projects, visit the PAPER PUMPKIN FAN CLUB page on Facebook.) My card is basically the same as hers, except I foam-rolled the doily with Pool Party ink and added a bunny brad. (I have an overabundance of shaped-brads from the days when they were trendy).

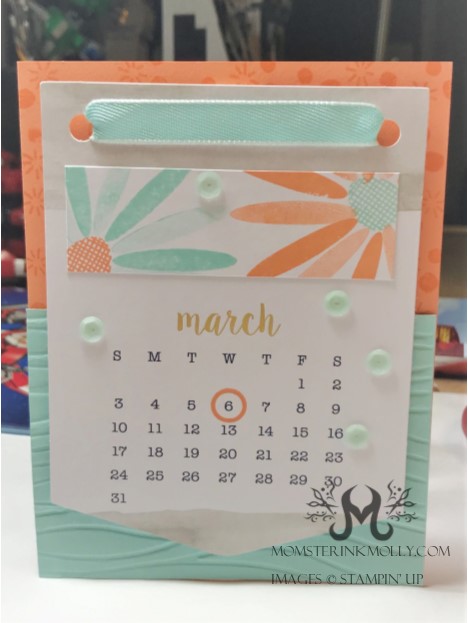
Next, I made this birthday card using one of the calendar pages from the kit. Since I rarely look at a calendar that isn’t on my phone or computer, the prescribed calendar project wasn’t practical for me. I saw multiple versions of this card out there, using the circle stamp to indicate the birthdate of the recipient. Again, I used the three ovals I snipped apart from the stamp set to create the flowers at the top of the calendar page. I created the background pattern at the top of the card base by stamping Grapefruit Grove ink on Grapefruit Grove paper. I ran the bottom piece through the Seaside Textured Impressions embossing folder.
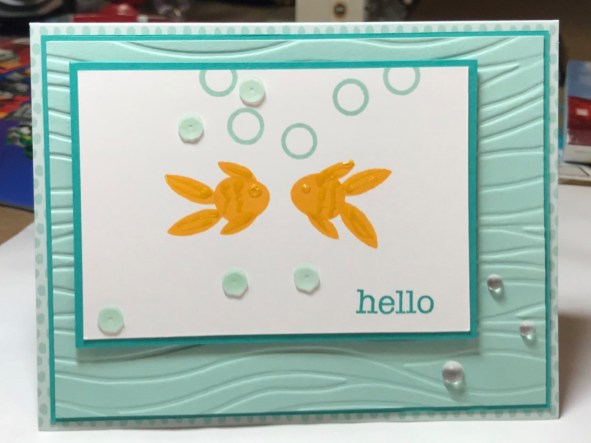
Finally, I had a little fun of my own and made these two little fish. I used gold Irresistible Pico Embellisher (which isn’t a Stampin’ Up product, but is still really cool to have) to give the fish some texture and dimension. I think he’s pretty cute.
Card recipes
Bunny
Stamps and ribbon from December 2018 Paper Pumpkin kit
Paper: Thick Whisper White, Early Espresso, Wood Textures DSP
Ink: Grapefruit Grove, Granny Apple Green, Pool Party
Other accessories: Bunny brad, Pearlized Doily, Pool Party sequins, Dimensionals, Rectangle Stitched Framelets
Calendar
Stamps, ribbon, and calendar page from December 2018 Paper Pumpkin kit
Paper: Grapefruit Grove, Pool Party
Ink: Grapefruit Grove, Pool Party
Other accessories: Pool Party sequins, Dimensionals
Fishes
Stamps from December 2018 Paper Pumpkin kit
Paper: Bermuda Bay, Pool Party, Whisper White
Ink: Mango Melody, Pool Party, Bermuda Bay
Other accessories: Pool Party sequins, Seaside Textured Impressions embossing folder, Frosted Epoxy Droplets, Gold Irresistible Pico Embellisher, Dimensionals

