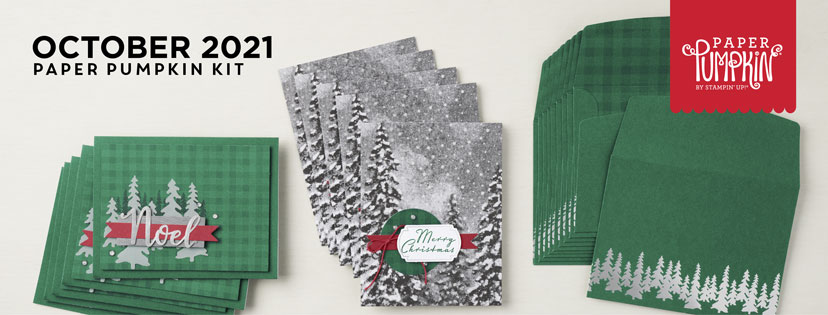
There aren’t many winter holiday-themed Paper Pumpkin kits that I didn’t love upon arrival (except for maybe that Gingerbread gift card holder…I only liked that one). The October Paper Pumpkin, Peaceful Christmas, was no different. Looking at it brought me oodles of joy! It was very reminiscent of two beloved sets from October and November 2019, Winter Woods and Winter Gifts, which had very similar color palettes (both included Whisper White, Shaded Spruce, silver, and a form of red). It includes paper that matches the Peaceful Place DSP from the July-December 2021 Mini Catalog that made me swoon when I received it. The kit has silver accents and the best sparkly jewels I have ever seen (not to mention the green buffalo check card panels and envelope liners).
Okay, I’ll stop gushing. In addition to all the wonderful attributes I already shared, the Peaceful Christmas Paper Pumpkin kit includes all of the supplies to make the cards pictured above, a Shaded Spruce mini ink pad, and the nine-piece photopolymer stamp set pictured below.

Quite frankly, I blew through this kit. I’m glad that I have two more—one for myself and one for my upcoming Paper Pumpkin Workshop. I’ll start right in on sharing my alternative designs.
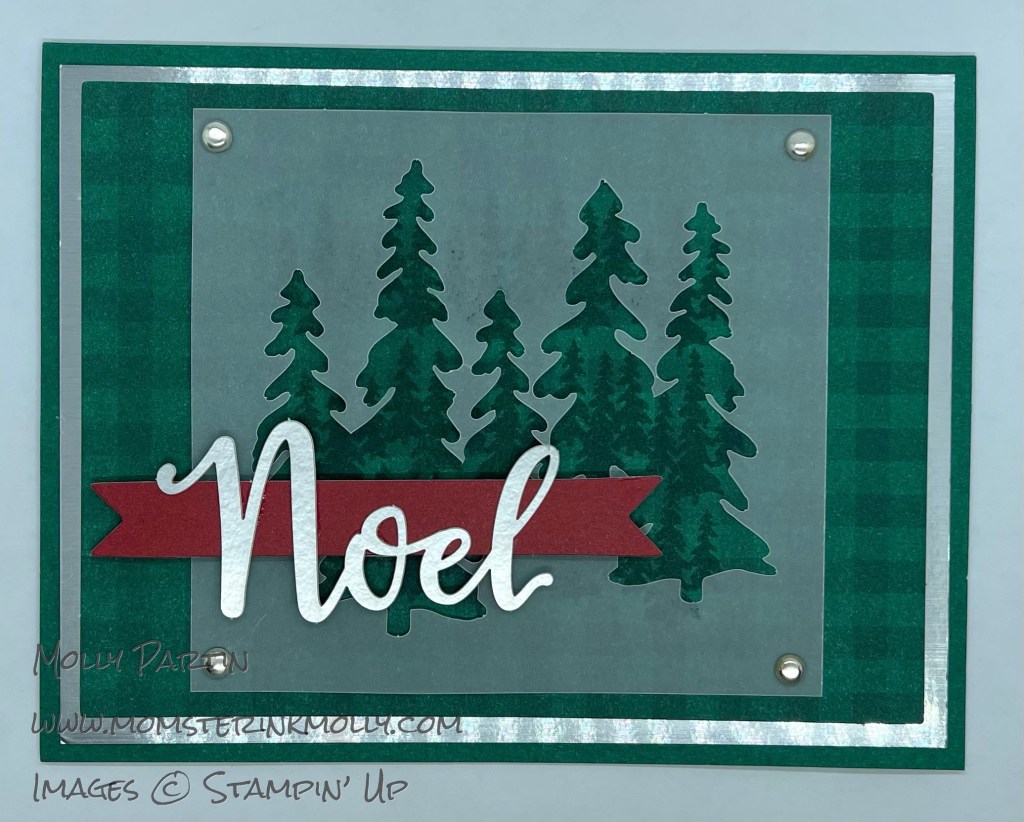
This first card isn’t much different from the card on the left pictured above. I simply added trees that traveled completely across the card front.

This second card is basically the reverse of the previous one because it uses the negative of the vellum punch-out. I attached it with silver brads.
The next two cards are reworkings of the card on the left pictured above. The first one uses Real Red ribbon and the second makes use of three red banners instead of just one. It also includes a tag from the Winter Gifts kit and a vellum element from an old Paper Pumpkin (don’t as me which one).
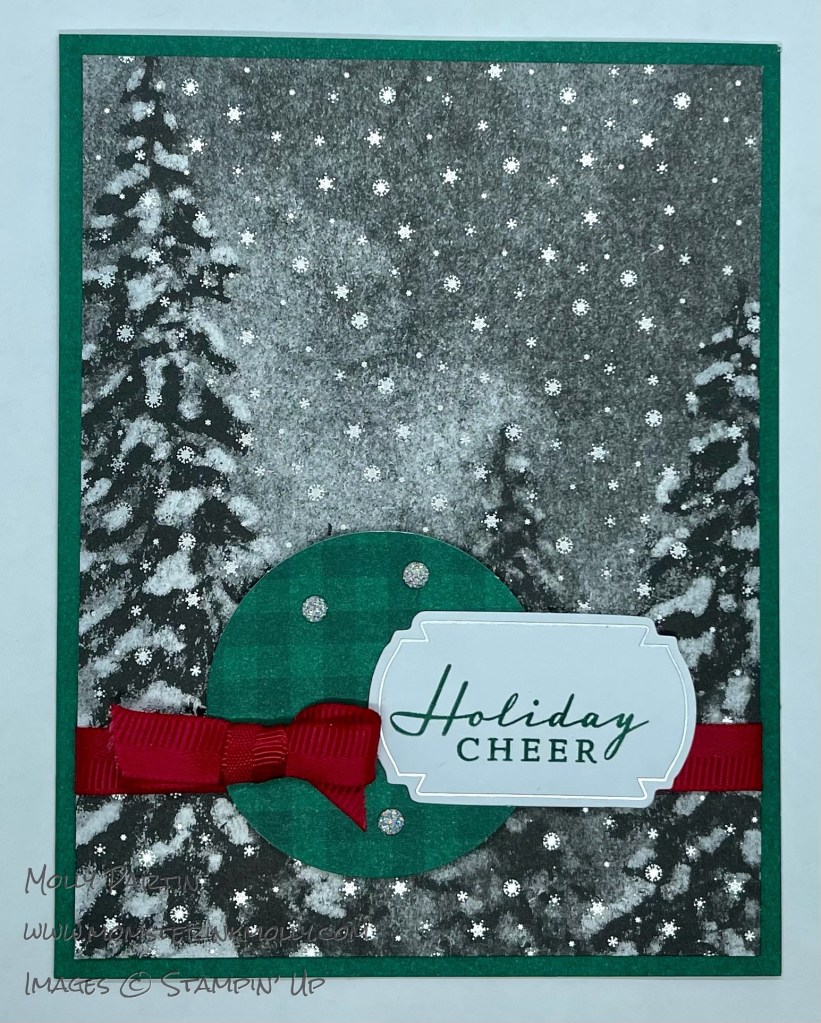
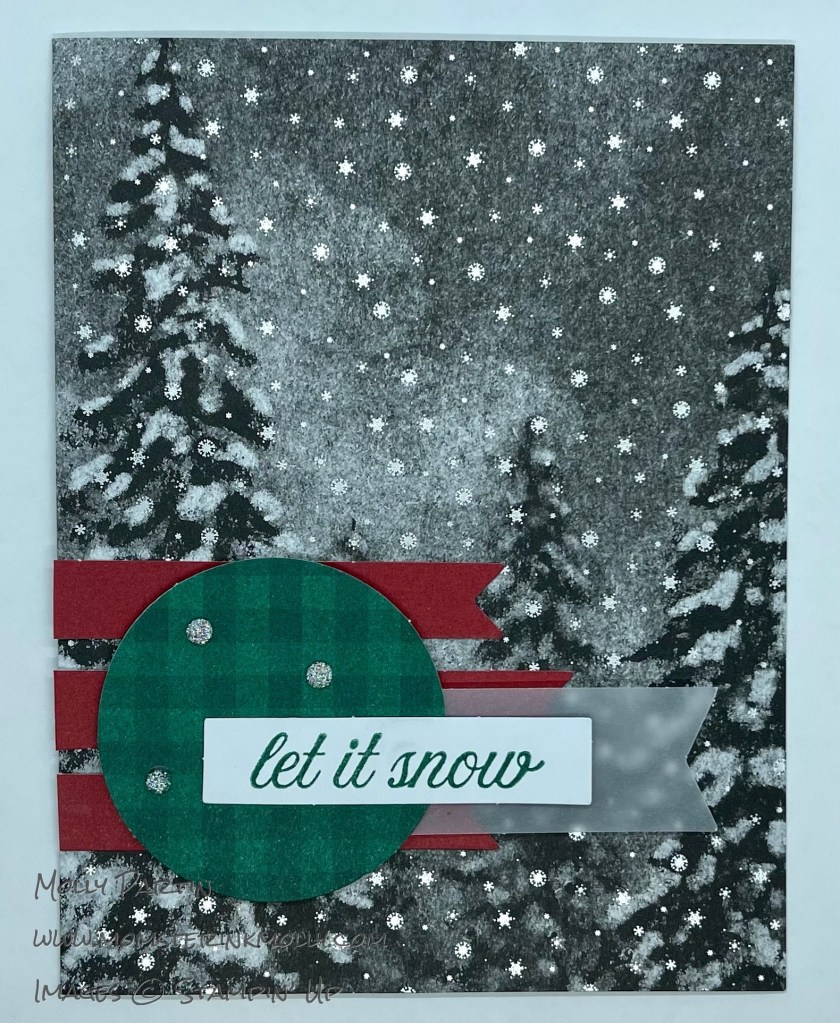
Did I mention that I made a lot alternative designs? I love this one because using a piece of Basic Gray cardstock stamped with white snowflakes really changed things up without changing them much at all—if that makes any sense. I sacrificed one of the envelopes included in the kit to create the main panel and used a scrap of Real Red cardstock to make the banner behind it.

These next three cards include leftover elements from past Paper Pumpkin kits. In fact, I wrote an entire blog post about saving elements from old kits for future use. You can read it here.


My final card is a very simple “stamps only” card. I used generational stamping (a.k.a. stamping off) to create three rows of trees in gradients of Shaded Spruce on a Thick Basic White card base. Then, I custom color embossed the sentiment by inking my stamp with Versamark and then green ink before stamping and embossing with clear embossing powder. This is a simple and elegant card to create and easily duplicate en masse.

Since I ended up a few envelopes short because I cannibalized one for cards and made extras, I decorated a few plain white ones to match the cards. I stamped Shaded Spruce trees along the bottom of the envelope front and snowflakes in Basic Gray on the flap.

Here is a list of the supplies I used in addition to the ones in the Paper Pumpkin Kit:
Product List


 Specialty Pack")


 Mixed Satin Ribbon")


What is more festive than a snowman or a towering pile of presents? The Christmas-inspired theme of November’s Paper Pumpkin, Gifts Galore, includes delightfully designed, treat packages that are sure to impress! The Gifts Galore designs are adorable whether they wrap up treats or not! If treat packaging isn’t your jam this month, the components of this kit are extremely versatile. If you live on the Eastside of the Seattle area, attend my November Paper Pumpkin Workshop on the 27th and receive ideas on what else you can do with this kit. Sign up for the class in the Bellevue/Redmond Cardmakers group on Meetup.com. Visit my other Meetup group Momster Ink’s Eastside Stampers & Papercrafters to sign up for my other monthly stamping classes, Stamping 101 and Paper Playground.

