Let’s get straight to it. Here’s my take on October’s Paper Pumpkin, Friends of a Feather. Knowing the color scheme ahead of time, I wasn’t jazzed about it. Cajun Craze, Coastal Cabana, Crumb Cake, Fresh Fig, Grapefruit Grove, and Night of Navy seemed like an odd combination of a long list of colors. It’s still unlikely that I would use all these colors on the same card, but I will say that Stampin’ Up delivered a very satisfying kit nonetheless. The colors are successfully combined, but not all at once. The kit included oodles of extra punched-out feathers and leaves in varying colors and sizes. I could pick and choose which colors I wanted on the card instead of using them all at once. I absolutely loved the feather theme.
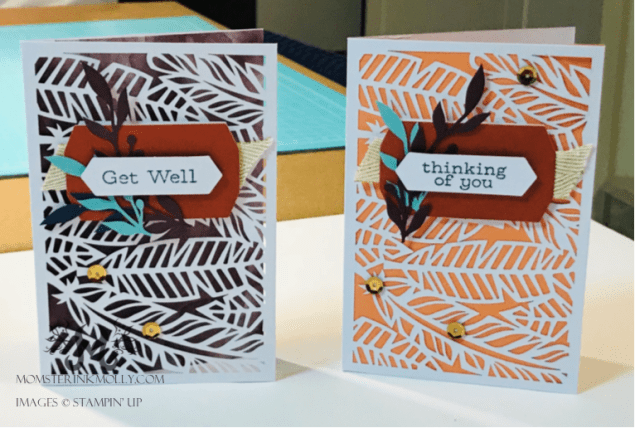
If you assemble the kit according to the instructions, you’ll end up with the eight cards pictured below–four of one kind and four of the other.

I’ve created two alternatives to share with you today. Except for 1/2 sheet of Crumb Cake cardstock to use as a card base, these cards are made exclusively with reengineered kit contents.
If you don’t mind deconstructing the envelopes, they can be used as an additional source of solid-color paper. My first card is a simple variation of the card with white feather cutouts layered in front of the Fresh Fig background. I removed the purple section of the card and replaced it with a section of the Grapefruit Grove envelope.

Here’s my card side by side with the original. I think it makes the card feel livelier.
If the envelopes happen to have a patterned lining, as these ones do, you can splay open the envelope and use it as decorative paper.
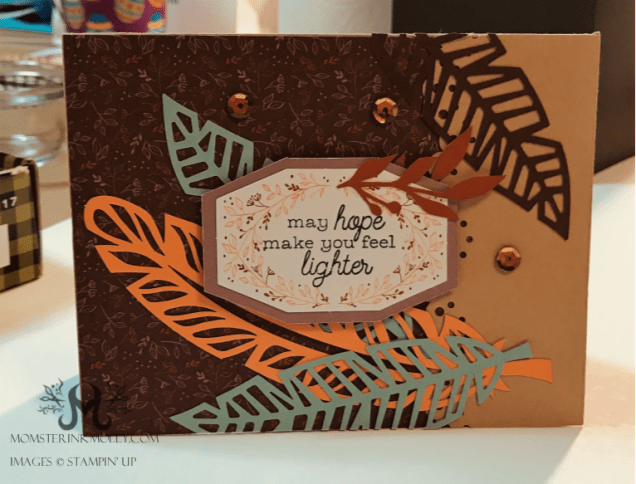
In addition to decorating the card front with the lining of the purple envelope, I used the rest of it to make a matt for the tag that resembles a squished octagon. Here’s how I did it.
First, I traced the tag onto the envelope.

I used a ruler to draw another line away from the original. I didn’t do any intricate measurements, I just lined up the hash marks on the ruler with the lines on the tag.

I repeated this step on all sides of the traced tag.

I cut along the outer lines.

I flipped the paper over to hide the pencil lines.

Finally, I matted the original tag on it, embellished it, and applied it to my card.
You may have noticed that I didn’t use the gold metallic baker’s twine very much. I am awful at tying bows, and this particular twine kept twisting up or unraveling, so I decided not to use it. I’m sure those of you with more dexterity than I have could further spruce up these cards using the twine. Overall, I’m pleased with this kit.


