September 2021 Paper Pumpkin: Haunts & Harvest

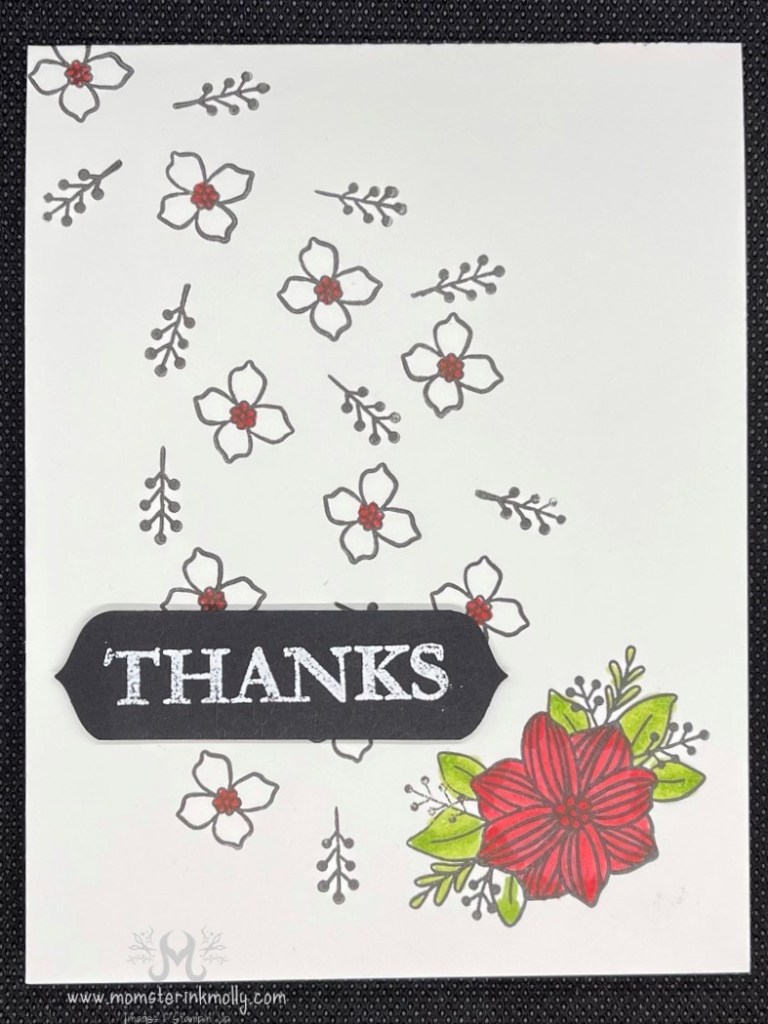
Haunts & Harvest, the September 2021 Paper Pumpkin kit by Stampin’ Up contains all the supplies to make the 12 treat boxes pictured above. These supplies even include a mini Soft Succulent ink pad (a.k.a. Stampin’ Spot) and a ten-piece clear photopolymer stamp set featuring the images pictured below.

The September kit is always tricky one to create alternate designs from because the kit always contains some version of a treat container. These first two cards are my favorites from all the alternate card designs I created. Except for the stamp set, neither of them uses any of the kit contents. They showcase possibilities for after you’ve made all those treat boxes and given them away to coworkers or your kids’ classmates.

For this card, I tried to create a simple and elegant design. The card base is Thick Very Vanilla. The next layer is a panel of regular Very Vanilla cardstock with a square cut in the top center and then embossed using the now retired Woodland embossing folder. I brushed Wink of Stella over the tree trunks to give them some subtle sparkle. For the leaf stamped at the center of the square, I sponged the center of the leaf stamp with Mango Melody ink and then used a sponge dauber with Pumpkin Pie ink to darken up the edges. The tag was created using the Lovely Labels Pick a Punch.

The next card is clean and lovely as well. The card base is Mango Melody. The leaves are stamped on squares cut from the now-retired Stitched Shapes dies in Cajun Craze, Pumpkin Pie, and Mango Melody ink using the same technique wherein you use sponge daubers to give the edges of the image a darker hue. The tag is created from Very Vanilla and Cajun Craze cardstock and the Banners Pick a Punch. I finished off the card with a few gems from the Holiday Rhinestones pack.

For the pumpkin card below, I cut out each section of the darkest orange treat boxes, trimmed them down to about 3″ high, and sponged the edges with Pumpkin Pie ink and a sponge dauber. I freehand cut the stem from a scrap of Soft Suede cardstock and sponged the edges of it with Soft Suede ink. I assembled the pumpkin, starting with the center and then each side moving backwards. I placed the jack-o-lantern face stickers from the kit on the face of the pumpkin. Next, I stamped leaves around the edge of a Very Vanilla card base (no need to stamp the middle because it gets covered by the pumpkin). The leaves are stamped in Soft Succulent and the veining down the center of them is Evening Evergreen. I stamped the sentiment on one of the tags from the kit in Soft Succulent and attached it with some leftover linen thread from a past Paper Pumpkin kit. Voila!

This next card is a variation on the card pictured above. Instead of using the darkest orange pumpkin treat box, I picked the lightest one. The leaves are from the kit and the stem is freehand cut from one of the treat box segments. The card base is Soft Succulent and the Cajun Craze panel is embossed with the Tasteful Textile 3D embossing folder. I created the strip of raffia that runs behind the pumpkin by extracting the wire from the center of one of the ties for the treat boxes. The tag is stamped in Soft Succulent and is once again attached with some linen thread leftover from a past Paper Pumpkin kit. Finally, I mounted the pumpkin on the face of the card using Dimensionals to give it…well…some dimension.

My final card is what I like to call a “One Layer Wonder.” It’s kind of the opposite of a One Sheet Wonder where you use one sheet of designer series paper to create multiple cards, but instead you just make one card that doesn’t have any layers. I used the remainder piece from the leaf punch-outs as a stencil to create a line of leaves across the bottom of a Very Vanilla card base. I used sponge daubers inked with Cajun Craze, Pumpkin Pie, and Mango Melody inks to fill in the stencil. Finally, the sentiment is stamped below the row of leaves in Early Espresso ink.

Thanks for stamping with me! If you live in the Eastside of the Seattle area, please join me at my next Paper Pumpkin workshop on Saturday, October 30th. Sign up in the Bellevue/Redmond Cardmakers group on Meetup.com. Also, check out my other cardmaking group on Meetup, Momster Ink’s Eastside Stampers & Paper Crafters for further classes.

Next month’s Paper Pumpkin kit is called Peaceful Christmas and coordinates with the Peaceful Place Suite Collection available in the July-December 2021 Mini Catalog. Subscribe by October 10th to ensure you get one.

Product List

Better Late Than Never: July 2021 Paper Pumpkin Recap

Boy did I love the July 2021 Paper Pumpkin kit, The Adventure Begins! I loved the color palette and the style of the backgrounds. The kit contains all the supplies to make the cards pictured above. Along with the coordinating envelopes, the kit arrived with a Garden Green mini ink pad and the eleven piece photopolymer stamp set pictured below:

Since the cards are tri-folds, I challenged myself to use one card base and an envelope to make three different cards. I did have to add in three card bases, some paper scraps and a Flirty Flaming ink pad, but other than that, I didn’t use any additional elements.

Here are my cards:

For some reason, I just really wanted a pink tree.

I’ve always wanted a camper trailer.

My camera made a crazy halo effect when I photographed this shaker card! The Subtle Shimmer Sequins must be extra reflective.

Finally, I made a set of stamps only cards, where I don’t use any supplies from the box aside from the stamp set and the Stampin’ Spot. These cards use the stamping off technique (aka generational stamping) to achieve different gradients of colors on the trees. I scraped the edges of the white paper with scissors and sponged with them with Crumb Cake ink.

The first card is simple and easy to make.

The second card is simply embellished with twine and Brushed Metallic Adhesive Backed Dots.

The final card has been “Christmas-ified” with some red gems and Evening Evergreen ribbon.

Additional Product

April 2021 Paper Pumpkin: So Cool

It’s July and I’m catching up on my Paper Pumpkin Workshop recaps. This kit is from April but the hot summer months are a perfect time to post about Stampin’ Up’s monthly subscription paper-crafting kit, So Cool. The kit includes all the supplies to make three each of the four card designs pictured above. It also came with additional stickers, coordinating envelopes, a Bermuda Bay mini ink pad, and the seven-piece photopolymer stamp set featuring the images pictured below.

The first thing that came to mind when I saw the sentiments on this stamp set was that if my daughter’s handwriting were made into a font, this would be the font! The youthful feel of this kit provided a perfect avenue for crafting with kids, tweens, and teens.

Since the cards themselves are shaped, I decided that I wanted to put them on backers. I used patterned paper from both the Ice Cream Corner suite featured in the January-June Occasions Catalog, and the Oh So Hombre that was available free with a $50 purchase during Sale-a-Bration. (Although the Sale-a-Bration promotion from earlier in the year is over, there’s another one starting up at the beginning of August.)

For this card, I added a black card base and reworked the supplies already in the kit.

I made two “stamps only” cards. This first one is a fresh and simple one-layer card. My card is colored with alcohol ink markers by Stampin’ Up called Blends, but a person without a plethora of craft supplies, can use any other kind of marker of colored pencil.

My second card features the popsicle stamp.

If you think you might love receiving the monthly subscription-base paper-crafting kit, the Paper Pumpkin, subscribe here. If you’re interested in attending in one of my Paper Pumpkin Workshops, you can find them listed on MeetUp.com under the Bellevue/Redmond Cardmakers group.

June 2021 Paper Pumpkin: Expressions of Color

The June 2021 Paper Pumpkin kit, Expressions of Color, featured cards with a quietly joyful and serene feel to them. The flowers are not too frilly and the color palette is soft without being sickly. The kit included all the supplies to create the cards pictured above (three each of three designs). The kit includes the 11-piece photopolymer stamp set pictured below and two mini ink pads, one in Bumblebee and the other in Evening Evergreen. Stampin’ Up’s Paper Pumpkin kits usually only come with one mini ink pad, so the additional one was a special treat.

I love creating alternative designs with my Paper Pumpkin supplies and I offer a monthly workshop featuring that month’s kit. The class favorite alternative design for the month of June was the one in the following picture. I made this card with minimal additional supplies, a white card base and a Blackberry Bliss sponged onto the back of the vellum with the word Thanks on it. The center tag is cut using Stampin’ Up’s Stitched So Sweetly die set, but the card would also look great with a rectangle cut from the designer paper as well.

Here’s a slideshow of a few other cards I made, some of them inspired by other cardmakers’ creations.

The last project at my Paper Pumpkin workshops always features a card that doesn’t use any of the other design elements in the kit. It’s something to make after you’ve used up everything in the kit and are just left with stamps and ink. I like this card because it has a whimsical feel to it.

Additional Products

Check out my blog post on what simple supplies you can keep on hand to easily make the most out of your Paper Pumpkin kit.

Subscribe with me so you can enjoy your own Paper Pumpkin, a monthly subscription paper-crafting kit by Stampin’ Up.

Attend one of my workshops, which found on MeetUp.com in the Bellevue/Redmond Cardmakers group.

March 2021 Paper Pumpkin: Here’s To You

My April Paper Pumpkin kit is arriving to day and I’m so behind on blog posting that I’m just now writing about the March 2020 kit, Here’s to You. This kit celebrates life’s journeys, milestones, and accomplishments with stamps and paper that evoke the freedom and openness of the being outdoors. The kit contains all the supplies to make the cards pictured above, a Calypso Coral mini ink pad, and the photopolymer stamp set pictured below:

After assembling the cards per instructions, I decided that the images are great for a masculine card. However, the tones of Calypso Coral were not. The landscape pictures got me thinking thinking about the Polaroids my grandparents would take when they were on trips (I really wanted a Polaroid Camera for myself). I was inspired to extract the mountain scene from the pale peach card base and mount it to a piece of paper to look like a Polaroid picture. I wanted to make the card base more masculine. Any time I make a card with wood grain, be it from a stamp, designer series paper, or from an embossing folder, my husband takes notice. He says it looks like wood paneling and not in a bad ’70s way. So, I pulled out my In Good Taste designer Series paper and cut a background from one of the wood grain pieces and mounted it on a Crumb Cake card base. Here’s my card:

I also made a similar version of the card that didn’t require any additional supplies beyond what the Paper Pumpkin kit included. I cut 3″ off the bottom of the flowery envelope liner and mounted it to the Pretty Peacock card base. You can still use adhere the top of the envelope liner to the inside of your envelope. For the white card base for the picture, I just flipped over one of the scraps from the card from which I cut the mountain and sun scene.

Tune in soon for my post on the April 2021 Paper Pumpkin kit, So Cool.

Also, sign up for the next kit, Batter Up by May 10th.