August 2020 Paper Pumpkin: World’s Greatest

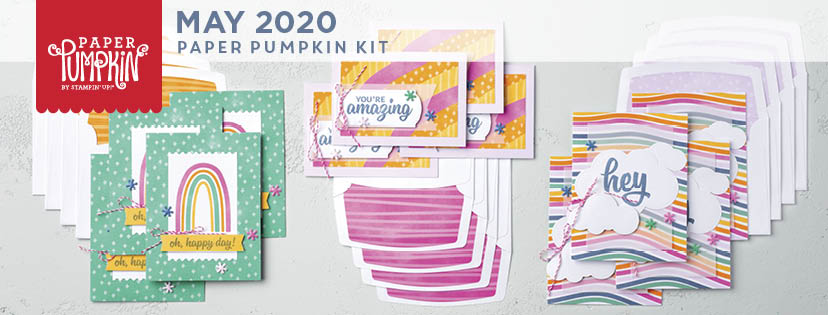
Stampin’ Up knocked it out of the park with their August Paper Pumpkin monthly paper-crafting kit, World’s Greatest. This kit provides a unique opportunity to thank life’s champions in a creative way. Since our reality has shifted due to COVID-19, life’s champions include people you wouldn’t usually think of as heroes, like the UPS man, or the cashier at the grocery store.

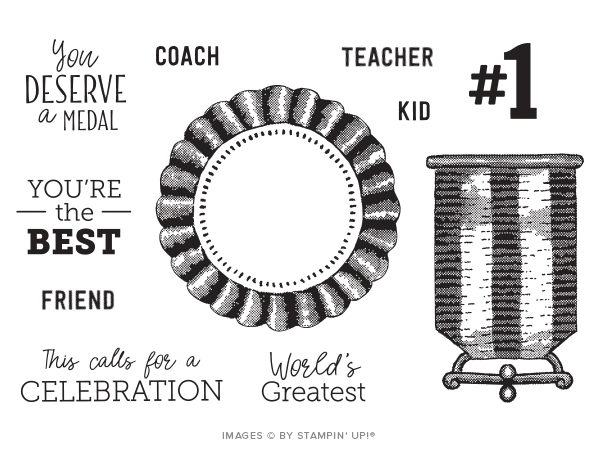
The kit contains all of the supplies to make the cards pictured above. The color palate is bright without being overly feminine. Featured colors are Bumblebee, Mint Macaron, Pacific Point, Soft Suede, white, and gold. The Stampin’ Spot that comes with the kit is Pacific Point. The included stamp set is pictured below.

Paper Pumpkin August 2020 Stamp Set

Here are my first three alternative designs. Aside from the addition of a white cardstock base, all supplies are from the card kit itself. Unfortunately, the gold colors in these pictures presented as a dark brown, but use your imagination to fill in what it would look like.

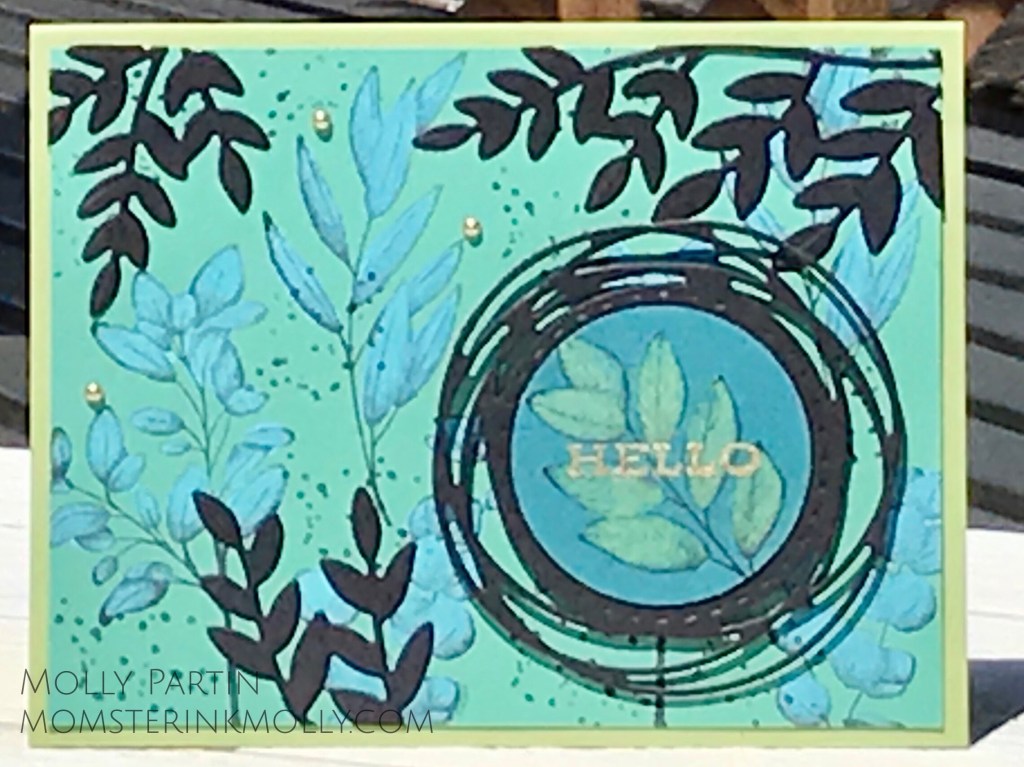
For these first two cards, I took one of the Pacific Point argyle bases and cut it up and used it for DSP. I sponged the vellum leaves with Old Olive because I wasn’t quite sold on the white ones.

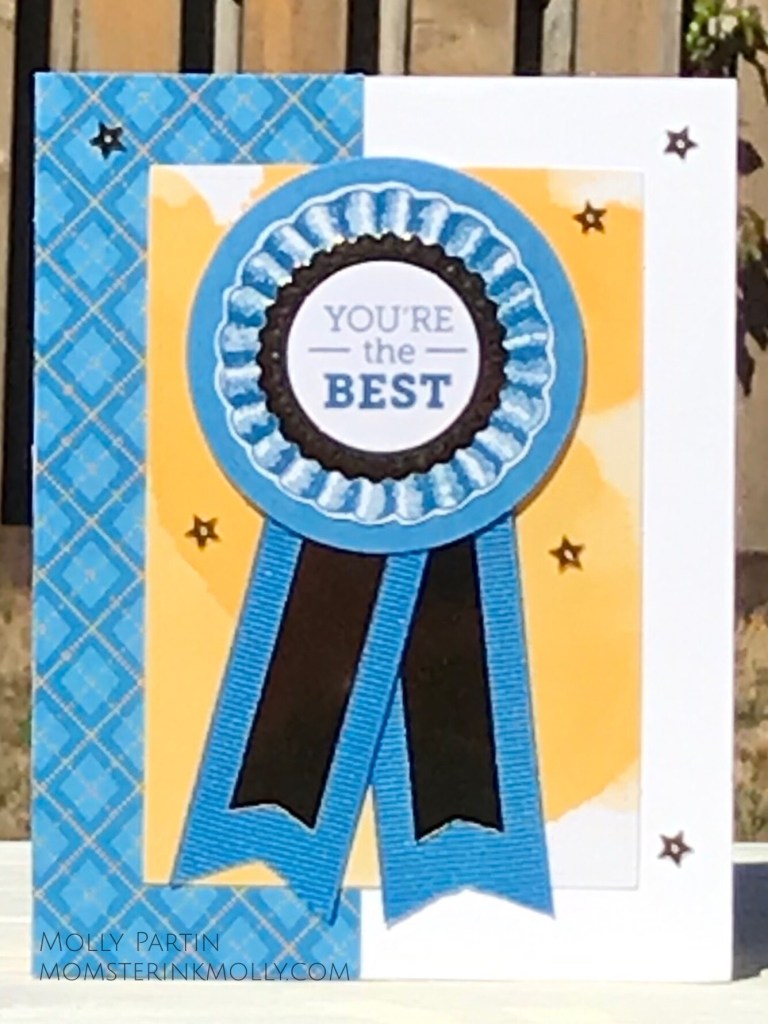
On this card, I changed up the shaker card a little bit. Since the trophy is behind the acetate, it gives the impression of a trophy case.

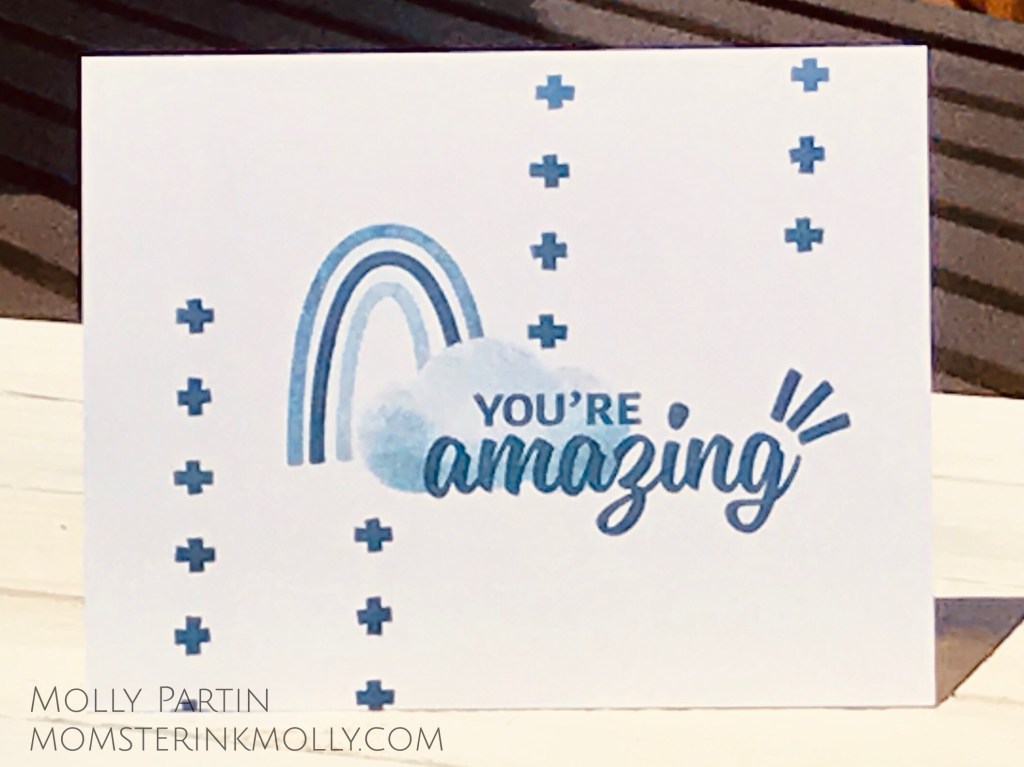
The final card I’m sharing is my “Stamps & Ink Only” card. This card required a lot of masking and some sponging. Tip: Use full stick Post-It notes when masking. It prevents the note from lifting and shifting so you get a clean mask every time.

Next month’s Paper Pumpkin kit is called Hello Pumpkin. Subscribe to Paper Pumpkin by September 10th to receive the kit. Then, attend my Paper Pumpkin Workshop on Saturday, September 26th at 2:00 PM, to make samples and alternative projects from the kit.

July 2020 Paper Pumpkin: Summer Nights

I grew up in a part of the country that didn’t have lightning bugs, so it wasn’t until I was an adult visiting my in-laws in North Carolina one summer that I got to see them up close and in person. The the lightning bugs were as magical to watch in person as seeing them on tv and reading about them in books. So, when the Summer Nights kit arrived I immediately remembered spending a quite evening at my husband’s Grandmother’s house in North Carolina, sitting on a wood porch swing, and having good conversation while watching my young daughter experience the magic of watching lightning bugs for the first time. And, quite frankly, watching lightning bugs is a great distraction from the sweltering heat and humidity of the South.

Summer Nights features images of lanterns, fireworks and lightning bugs (or fireflies depending on where you’re from).

July 2020 Paper Pumpkin Summer Nights stamp set

In addition to a Night of Navy mini ink pad, the kit also contains all the supplies to make the nine cards and six paper bag lanterns featured in the above image. Stampin’ Up also released an add-on kit containing more card bases and coordinating envelopes.

I have two alternate card ideas to share. These cards are made with the card bases from the add-on kit because I got so excited and used up the ones in the kit before I started creating alternatives.

On this first card, I dug out April’s Paper Pumpkin kit, My Wonderful Family, and used the negative from the tree punch out as a stencil to create the branch coming across the sky.

This second card, doesn’t use the stamp set at all. Even though it’s still summer, I have Christmas cards on the brain, so I dug out my Merry Moose stamp set and created this peaceful holiday card.

I didn’t use the stamp set from the Summer Nights kit on this card, but this goes to show that you can always use the kit supplies and combine them with other items you have in your crafting stash.

That’s it for this month. I already have the August kit sitting at my table ready to play with.

At the end of the month, I’ll be holding my first in-person workshop since we went into quarantine back in March. You can find the Meetup details here.

I wouldn’t bleach my hair, but bleaching paper is awesome

First of all, I’m happy to announce that Stampin’ Up’s new Annual catalog is live! Have a look.

Today I’m going to feature two of the catalog’s new sets, Celebrate Sunflowers and Forever Fern.

I’ve always thought sunflowers were awesome and have wanted to grow some that are taller than me, which probably wouldn’t be that difficult. Unfortunately, I can’t even keep an aloe vera plant alive. Someday….. (sigh).

Recently I’ve been experimenting with painting bleach on paper with an aqua painter and I love the results. Painting with bleach is as easy as it sounds. I like to put the bleach in an aqua painter so I can keep it contained and it’s easier to control, but I suppose you could just use a regular paint brush and a small cup of bleach. Before you start, test the bleach on a small piece of card stock to see what the color fades to after the bleach does its work. It’s not always what you would expect. Also, you have to stamp with Staz-On ink; any other type of ink will fade along with your paper.

For this card, I stamped the leaves on a piece of Old Olive cardstock. The card base is one of the fresh new In-Colors, Bumble Bee. The tag is made from another product called the Lovely Labels Pick a Punch, which is one of my favorite new things because you can use it to make custom-sized labels in two different styles. The Celebrate Sunshine stamp set also has a companion die set called Sunshine Dies, which is what I used to cut the sunflower and leaves with.

Product List

The next card I made uses the Forever Fern stamp set. I have some ferns growing beneath my deck and I haven’t killed them yet, mostly because they pretty much don’t need any help from me.

I stamped the leaves on a Just Jade (another new In Color) piece of cardstock for the background paper and applied bleach to the leaves, which surprisingly turned them light turquoise blue. I used the dies from the Forever Flourishing companion die set to cut out the black leaves, which I layered on top of the background piece.

Product List

May Paper Pumpkin: A Kit in Color

The May 2020 Paper Pumpkin is vibrant and playful. It comes with all of the supplies you need to make the three card designs pictured above (four of each design), a Misty Moonlight Stampin’ Spot, and the photopolymer stamp set pictured below.

This kit features four of Stampin’ Up’s five new In Colors that will be available June 3rd when the new annual catalog gets released.

The colors featured in the kit are Just Jade, Bumblebee, Magenta Madness, and Misty Moonlight. As you can see in the pictures at the top of the page, the kit uses these colors to create some unique patterns, both on the envelopes and the cards themselves. Some might even call them groovy, or reminiscent of the Psychedelic ’60s and ’70s.

I always say not to be afraid of cannibalizing your envelopes when creating alternate versions of your kit’s cards, which is what I did to make the card pictured below.

I used the insides of the envelopes and a square from of the Just Jade card base for the pattern pieced square. I separated the back of the Just Jade card base and used it as a card front, which I mounted on a Whisper White card base. I even used a white scrap from one of those cut up envelopes for the white square layer.

For my next card, I challenged myself to use only the kit’s stamp set and included ink pad to create a card on a single white card base. This card required several different stamping techniques including, masking, sponging, and stamping off.

If you’re a new Paper Pumpkin subscriber and have a minimal amount of other paper-crafting supplies, I highly recommend buying a set of envelopes and white card bases so you can extend the use of your stamps and ink. Although you can pick up a pack of card bases with coordinating envelopes at most craft stores, I highly recommend buying them from Stampin’ Up. Their Whisper White paper has an ultra smooth surface which helps your stamped images to be clean and crisp.

Product List

Hot Diggity-Dog!

Most of the greeting cards I make can be given to just about anyone, but sometimes I design one for a specific person. For me, making a custom card is incredibly rewarding. With the aid of a computer, printer, and my daughter’s drawing skills, I made this one-of-a-kind greeting card last week. I’ve been waiting to share it until it arrived at the recipient’s home.

My father-in-law is adventurous when it comes to cooking and he recently decided to make pickled hotdogs. (Pickling hotdogs is out of my realm of imagination, so I didn’t even know that people do this on a regular basis.) After three weeks of marinating, he taste-tested them over a Zoom call with my husband and they laughed themselves to tears for at least fifteen minutes. My husband asked me to make a card to commemorate the occasion. (We’re a little goofy that way.)

I dusted off the retired Stampin’ Up set Jar of Love and its coordinating batch of dies to make this card. I have a large collection of stamps, but a hotdog stamp isn’t numbered among them. My daughter is a gifted artist, so I commissioned her to draw and color the hotdogs in the jar.

I found a font that resembles the typeface on a Ball jar and printed a custom label. (The font is called Ave Fendan and you can find it at dafont.com. It is free for personal use.) I circle-punched my custom text and adhered it to a Grapefruit Grove tag made from the Story Label punch. I wanted the card to have a county fair feel to it, so I placed a swatch of Daffodil Delight gingham paper behind the jar. I chose the woodgrain background paper because I wanted the card to seem rustic.

As I said before, the Jar of Love stamp set is retired. However, the new annual catalog, which will go live on June 3rd, contains a similar set called Jar of Flowers, a coordinating punch, and mason-jar shaped shaker domes.

I recommend two easy (and cheap) ways to further customize your one-of-a-kind greeting card. First, find a font that compliments your stamp set and print out sentiments tailored to the card recipient. Second, doodle or sketch extra elements if you have the artistic skills (or a daughter who can do it for you).

Product List
Jar Of Love Photopolymer Stamp Set
Retired
Everyday Jars Framelits Dies
Retired
Wood Textures Designer Series Paper Stack
Retired
Gingham Gala 6" X 6" (15.2 X 15.2 Cm) Designer Series Paper
Gingham Gala 6″ X 6″ (15.2 X 15.2 Cm) Designer Series Paper
Retired