Retirement Party

Over the next few weeks my blog posts will feature Stampin’ Up products scheduled to retire when Stampin’ Up’s 2020-2021 Annual Catalog launches on June 3rd. Look at the Last Chance Products page in the Stampin’ Up store to see what else is retiring. The items on this list are available until June 2nd or when supplies run out.

Today’s projects feature the 2018-2020 In Color collection and the Celebrate with Cake stamp set found in the 2019 Beginner Brochure.

(Note: some of these cards use retired products. Don’t let that stop you from coming up with a version of your own though!)

The 2018-2020 In Color collection featured vibrant colors that I think are well suited to the playfulness of the Celebrate with Cake stamp set. (Lovely Lipstick was my favorite from this group.)

InColor20182019

I love the little bird and his hat from this stamp set. The bird and the hat are two separate stamps, so you can stamp the hat in a different color (or not at all).

final-6

I based this card off several versions of the hearts flying from the mailbox theme I saw online.

final-5

This final card features the flowers. The stems and flowers are on different stamps for easy separation of color. The set is clear photopolymer so it’s easy to line up the separate images.

final-7

Product List


final-6

Make do

My friend Liz and I usually stamp together once every couple of weeks. Since we’re adhering to our governor’s “Stay Home, Stay Healthy” mandate, we haven’t been able to meet in person. We are, however, virtual crafting over video on Messenger and it’s been so wonderful. Although she has been an avid scrap-booker over the years, Liz is fairly new to Stampin’ Up products and card making. She’s a Paper Pumpkin customer, so we have those stamp sets in common and a few other overlaps in what we own.

final-59-640x640

We’ve been finding card samples online and recreating them, or using them as inspiration for creations of our own. Recently we recreated this card by Sue Mor.

The main obstacle we faced in recreating this card was that neither of us own the Brick & Mortar 3D embossing folder (149643) which, as you can see, is a prominent element on the card. Our solution to overcoming this bump was to use a scoring tool to create the brick wall.

The scoring tool didn’t give the same level of 3D effect that the embossing folder would have, but it was still effective. I used a sponge dauber with Gray Granite ink to give the brick some more contrast and texture. Also, we changed the card from portrait to landscape orientation.

Here is my card:*

final-1

And here is Liz’s card:

img_2171

*Supply list for Molly’s card:

Stamps:  Thoughtful Blooms
Paper: Whisper White, Shaded Spruce
Ink: Shaded Spruce, Gorgeous Grape, Highland Heather
Embellishments: Noble Peacock Rhinestones
Dies: Painted Labels


March Paper Pumpkin Workshop: No class, no problem

I won’t be holding my monthly Paper Pumpkin Workshop tonight due to the COVID-19 outbreak. Instead, here are samples of the projects we would have worked on tonight. I was really looking forward to this month’s project kit since it included an extra stamp set to commemorate Paper Pumpkin’s sixth anniversary and I wasn’t disappointed. I loved the sets they sent! The stamp set included in the kit is called No Matter the Weather.

0320_PP_STAMPARTWORK

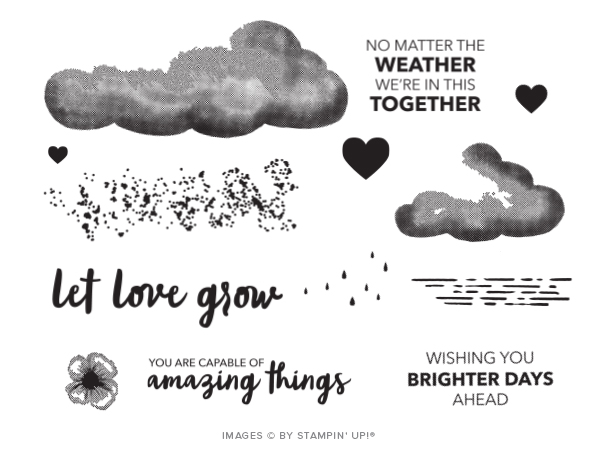
These stamps are great, but I was especially excited about the bonus stamp set, Spring Splash!

0320_PP_FREESTAMP_ARTWORK

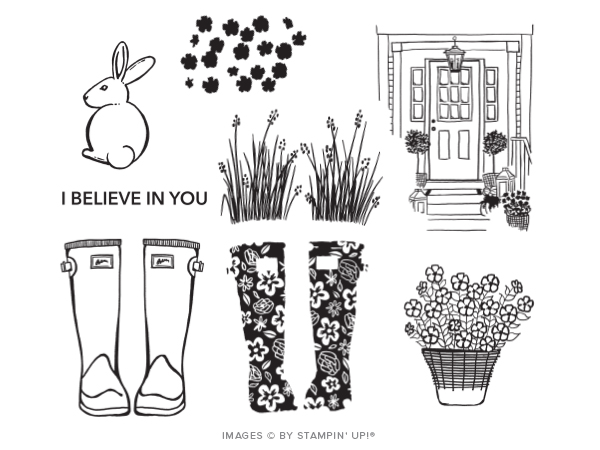
The rain boots, a.k.a. wellies, remind me of a song my grandma sang to me when I was a little. It mentioned rain boots and bumbershoots. I guess that its kind of fitting that I grew up and moved to the Pacific Northwest, a place of excess rain and occasional sunshine that makes it all worth it.

I’m just going to jump right to one of my favorite alternatives. I sacrificed one of the envelopes with the striped Petal Pink liner to make the bottom portion of the card. Basic Gray ink on Basic Gray resulted in an ominous and looming presence, so I stamped the clouds on the top portion in Versamark to give them a watermark effect. I considered embossing the clouds with clear embossing powder, but I decided against it because it would smooth out the dimensionality of the cloud stamp.

final


Supplies:

Stamps: Spring Splash and No Matter the Weather from March 2020 Paper Pumpkin kit

Ink: Pear Pizzazz, Basic Gray, Balmy Blue, Versamark

Paper: Gray Granite

(5.5″ x 8.5″), Whisper White (3.5″ x 3.5″ plus scraps for bunny and boots), Petal Pink liner from envelope (3″ x 4″)

Accessories: Rain and Dewdrop embellishments (included in kit), Stampin’ Dimensionals, Pear Pizzazz ribbon (retired*), Stitched Shapes Dies (152323)

*Suggested alternatives for ribbon: a 3/8″ x 4.25″ strip of Pear Pizzazz paper brushed with Wink of Stella, Gray Granite Textured Weave Ribbon (147656), Petal Pink Metallic Edge Ribbon (151194), Whisper White Crinkle Seam Binding Ribbon (151326), Burlap Ribbon (141487)

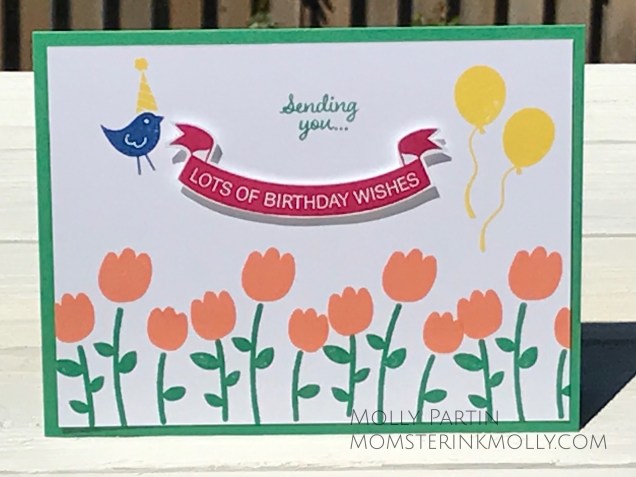
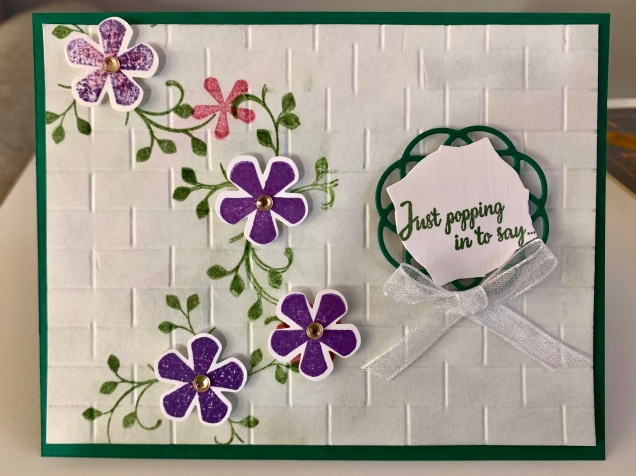
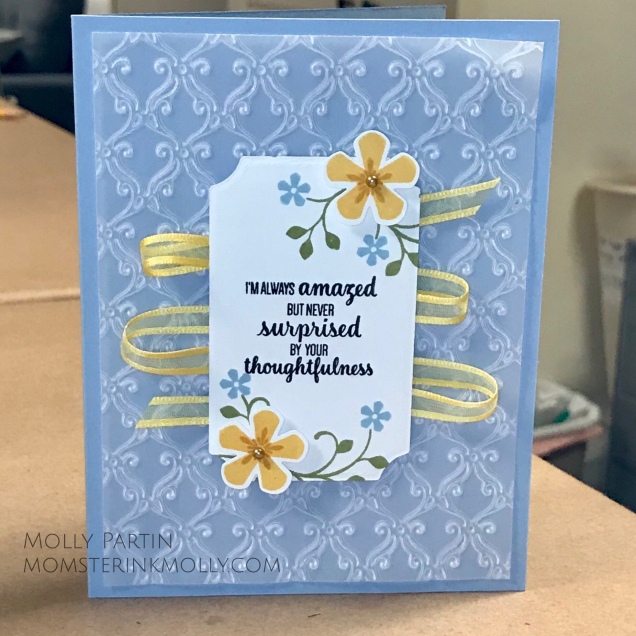
As far as minor alterations, here are a few cards that I created by rearranging elements from the Paper Pumpkin kit. I had a fun time incorporating the bunny into my modifications.

Below is my stamps only card. I decided to take the card to the max and fulfill Stampin’ Up’s #simplestamping challenge: one piece of paper, no layers. I didn’t even use any embellishments. It’s my first completely compliant #simplestamping card. Using only one piece of paper and stamps is a challenge I haven’t risen to until now. The Stamparatus helped me perfectly line up these boots.

final

Stamps: No Matter the Weather & Spring Splash from March 2020 Paper Pumpkin kit

Paper: Thick Whisper White Cardstock (140272)

Ink: Basic Gray (149165), Gray Granite (147118), Poppy Parade (147050), Memento Tuxedo Black (132708)

Accessories: Stamparatus (146276)

I hope to have the privilege of running a Paper Pumpkin Workshop in person next month. I’m not counting on it though. You, however, can count on me to deliver lovely samples and alternate designs from next month’s Paper Pumpkin kit, My Wonderful Family. Subscribe by the 10th of April here.

04.01.20_PP_SHAREABLE

Stamping 101 Class: Embossing Folders

Here’s a card we made in my most recent Stamping 101 class using the Stampin’ Up Sale-abration set, Thoughtful Blooms. This set, and its companion punch, have been sitting on my shelf since January and I wish I had started playing with it earlier. No reason to lament too much because the COVID-19 virus has pretty much put external life on standstill since I run an after school program and work in retail. Now I have lots of spare time. I’m grateful for the opportunity to craft and spend time with my family. Okay, some days I’m not as grateful for the opportunity to be cooped up with my two hormonal teenage daughters, but that’s what therapeutic paper-crafting is for, right?

BTW, I have to give credit where credit is due. The design for this card is a modified version of a card made by a woman named MaryAnne Cowan.

Here’s the card:

final

Stamps:
Thoughtful Blooms

Ink:
Old Olive (147090), Daffodil Delight (147094), Crushed Curry (147087), Seaside Spray (150085)

Paper: Seaside Spray (150883), Whisper White (100730), Vellum (101856)

Accessories:
Stylish Scrolls embossing folder (retired), Daffodil Delight ribbon (retired), Small Bloom Punch (152316), Metallic Pearls (146282) Stampin’ Dimensionals (104430)

January PP Workshop Projects: I’ll Bee Yours

Card #1: Stamps Only

This card was made with the stamps from the kit, but not any other supplies. I think it’s my favorite. I’ve always had a thing for blue and yellow together. I used to have a yellow Kitchen Aid mixer in my blue kitchen. I had to upgrade to a larger size mixer though. Now I have a red one with a Wonder Woman decal on it. It’s pretty awesome. Enough about the contents of my kitchen….

I had the dumb luck of placing the small floral background stamp on my Stamparatus in such a way that I was able to take a 4 7/8″ square piece of paper and it lined up so perfectly that I could stamp on the white square, rotate the paper and stamp again until I completely covered the paper without any overlap or gaps. I’m not sure I could do it again, but it’s possible.

final

Supplies:
Stamps: I’ll Bee Yours Paper Pumpkin January 2020
Paper: Whisper White, Blueberry Bushel, Daffodil Delight, Noble Peacock DSP
Ink: Blueberry Bushel, Daffodil Delight
Other: Painted Labels dies, Stitched Rectangles Dies, Stampin’ Dimensionals, Heart Punch Pack*
*Side note: The Heart Punch Pack from the Heartfelt bundle in the January-June 2020 Mini Catalog coordinates perfectly with the heart stamp in this Paper Pumpkin.

Card 2: Sacrificial Lamb One

The only extra supply from this card that isn’t included in the kit is the Mint Macaron card base. Sacrificing one treat bag and one note card enabled me to make this full-size card.

final

Supplies:
I’ll Bee Yours Paper Pumpkin January 2020
Paper: Mint Macaron
Other: Stitched Shapes Framelets Dies, Layering Squares Framelets Dies, Wink of Stella, Stampin’ Dimensionals

Card #3: Sacrificial Lamb Two

Once again, the simple addition of a card base and some reworking of the kit’s contents yielded a full-size card. This card is basically the opposite of the one above. Instead of sacrificing one card and one envelope, this card requires two of the 3×3 card bases, but not any of the envelopes.

final-1


Supplies:
I’ll Bee Yours Paper Pumpkin January 2020
Paper: Heavyweight Whisper White
Other: Stitched Shapes Framelets Dies, Layering Squares Framelets Dies, Wink of Stella, Stampin’ Dimensionals