Monthly Paper Pumpkin Tip: Sacrifice Your Envelopes

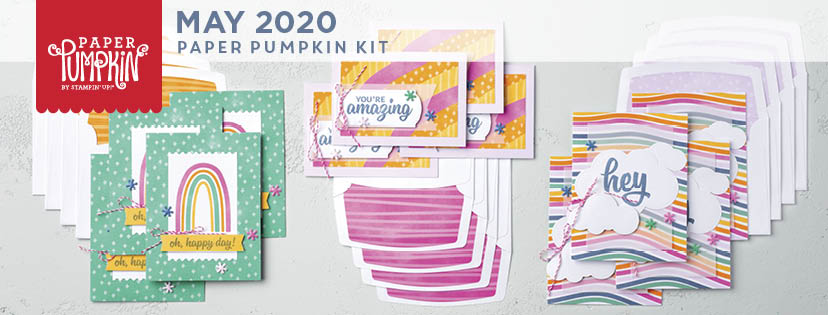
If you’re not familiar with what a Paper Pumpkin is, it’s a monthly subscription for an all-inclusive paper crafting kit made by Stampin’ Up, and one of my favorite things to receive in the mail. You can learn more about Paper Pumpkin and subscribe for the kit here.

This month’s tip for extending your creative options with your kit is to sacrifice your envelopes. Sometimes the cards in the Paper Pumpkin kit come with matching envelopes. Don’t be afraid to flay those envelopes open and cut them into mini-sheets of coordinating designer paper. Here’s an example from the July 2020 Paper Pumpkin Summer Nights add-on kit, which consisted of extra card bases and coordinating envelopes.

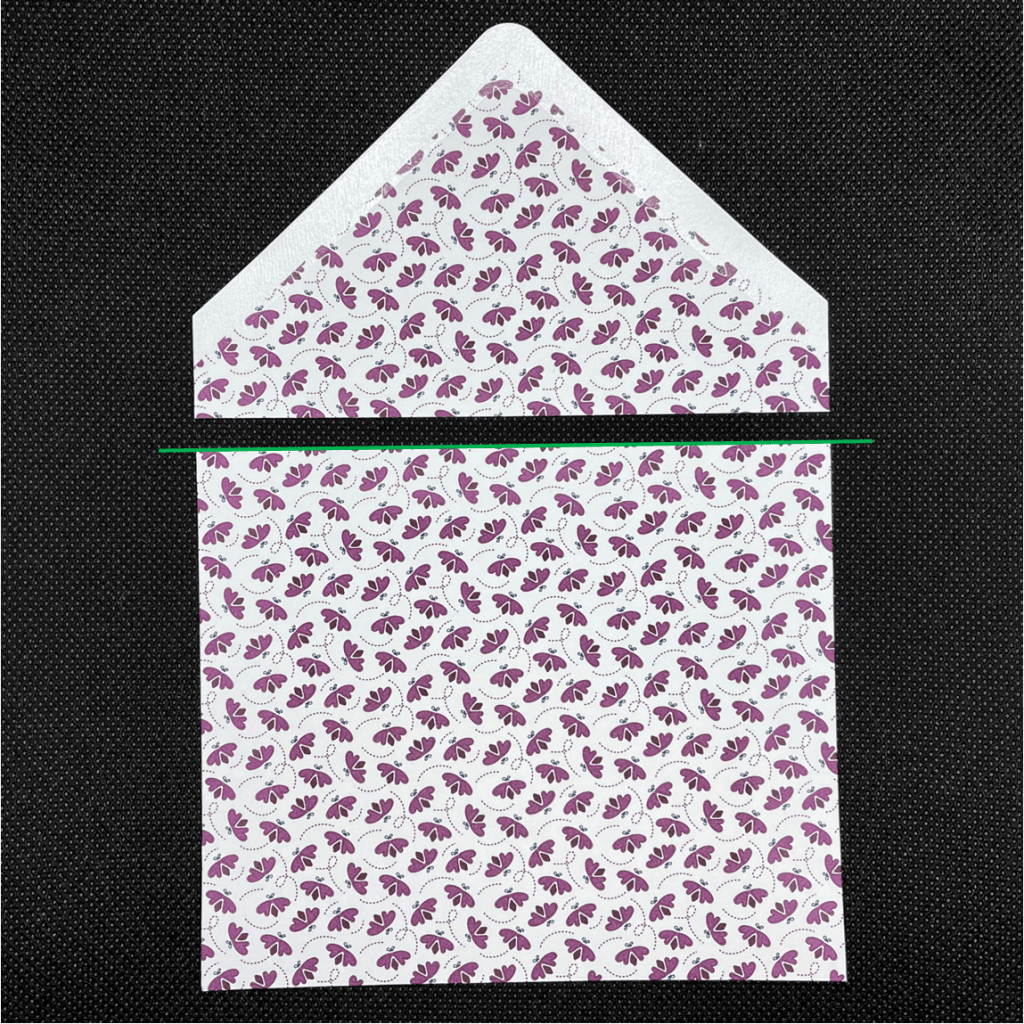
First, I used my paper trimmer to cut along the edges of the envelope where the white from the envelope meets the pattern on the inside of the envelope.

Next, I splayed open the envelope and trimmed the white part from the bottom of the pattern.

Finally, I cut the envelope at the crease between the flap and envelope.

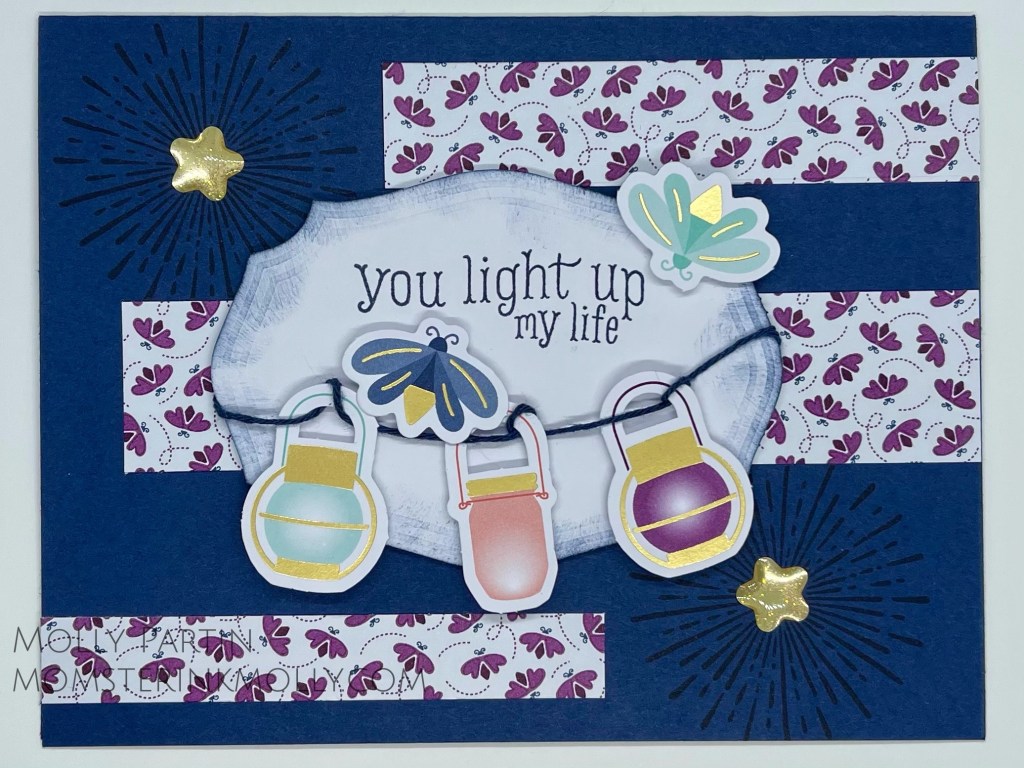
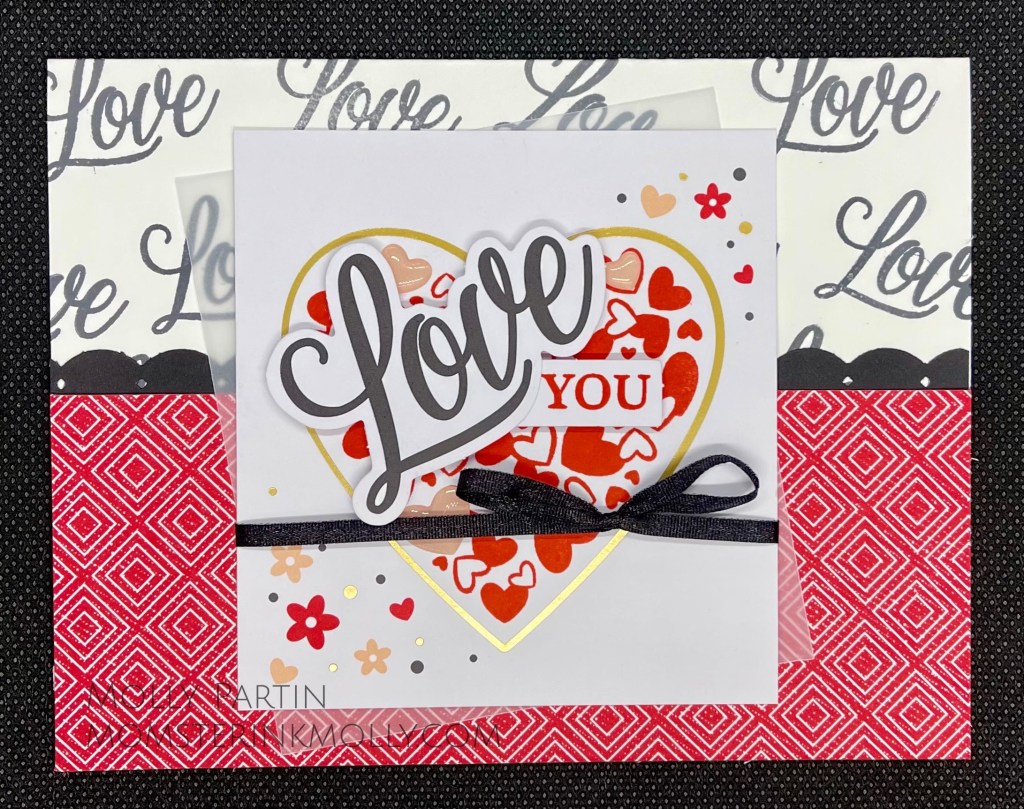
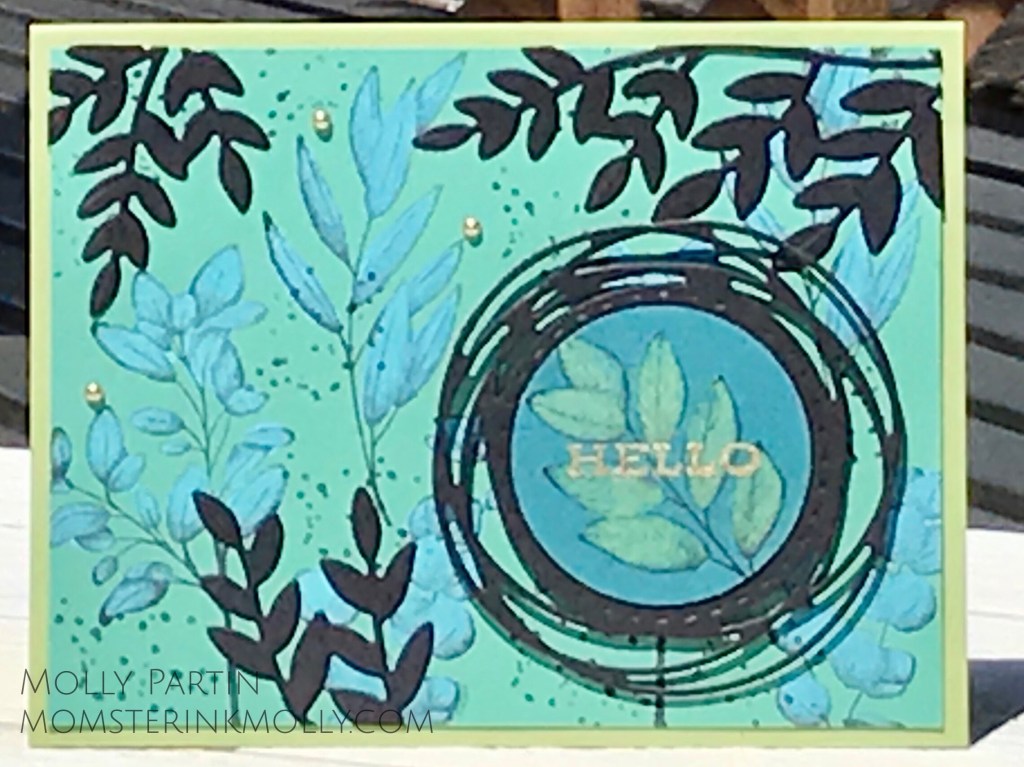
After that, I cut the pieces into strips, applied them to a Night of Navy card base, and created the card pictured below using the stamp set and pieces from the Summer Nights kit.

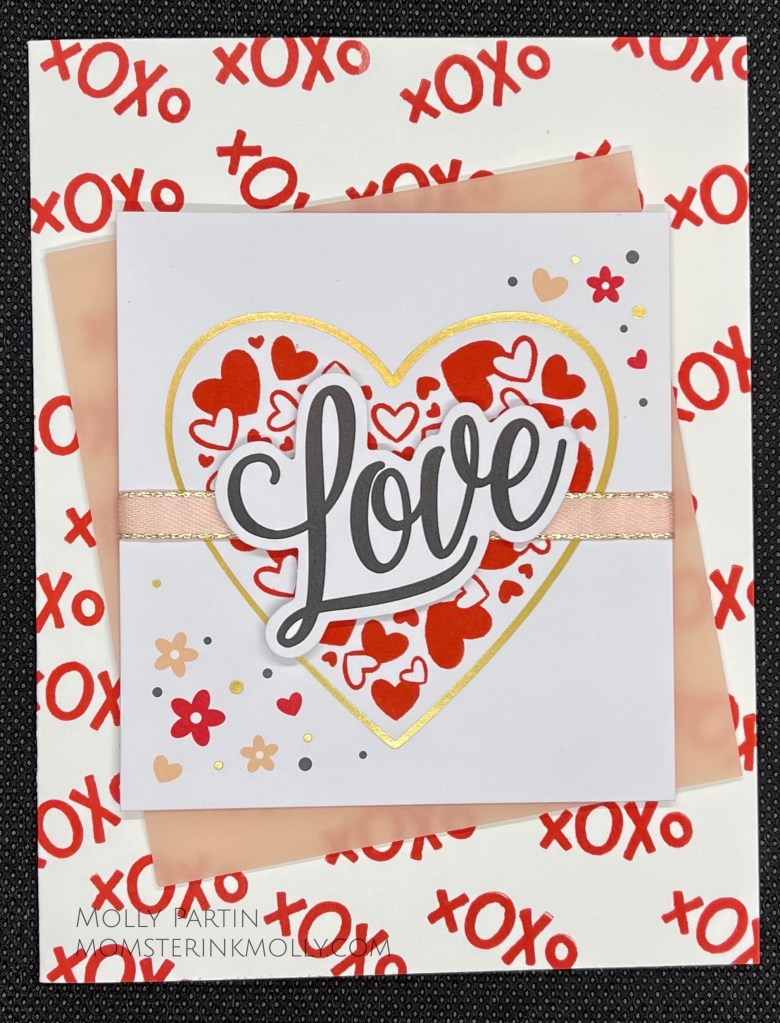
Here’s a small slideshow of other cards I have made using the interior designs on the envelopes as elements on the front of the card.

Of course, you’ll need a replacement envelope, so keep a package of extras on hand. See my Monthly Paper Pumpkin Tip: A Little Product Supplement Goes a Long Way for information about basic supplemental supplies.

January 2021 Paper Pumpkin: Sending Hearts

Paper Pumpkin is an all-inclusive monthly subscription paper-crafting from Stampin’ Up and I look forward to receiving it every month. The January 2021 kit is called Sending hearts. The kit included all the supplies needed to make the cards pictured above and the photopolymer stamp set pictured below. It also included a Poppy Parade mini ink pad. The coordinating colors are Poppy Parade, Basic Black, and Petal Pink.

Today I’m sharing a few alternative designs that I made using the kit and supplemental supplies.

On this card, I repeatedly stamped the XOXO stamp on a white card base. I also added a piece of Petal Pink vellum and metallic edge Petal Pink ribbon from my stash of retired paper products.

For this card, I stamped the top portion of a white card base with the Love stamp. The bottom red panel is cut from one of the card bases included in the kit. The scalloped black border is punched from a border punch I have, but you can just as easily piece together two of the scalloped black strips from the kit. I offset a square of white vellum behind the front panel to give it more emphasis.

This next card utilizes the cute little snail stamp. I used a technique to reverse the stamped image so the snails could be facing one another. The reverse technique is very simple. Stamp the image on a silicon crafting mat and place a piece of cardstock over it, lightly pressing down without wiggling the paper. If you don’t have a silicon crafting mat, a silicon baking mat can be used instead.

Happy stamping and Happy Valentines Day!

What’s in my On-the-Go Craft Tool Box?

I’ve just spent the last three days at the Inky Fingers Crafting Weekend retreat. My 16 year-old daughter came with me and we loaded up the back of my Forester with all manner of paper-crafting supplies. When I say loaded up, what I’m really saying is stuffed to the brim. We had to get a baggage cart to bring it all in to the hotel.

Not all crafting events require a trunkful of supplies though. That’s why I’ve created my own On-the-go Tool Box that packs tightly into one of Stampin’ Up’s wide stamp storage cases to use when I attend smaller workshops where most everything else is supplied.

Here’s a picture of what is stored in my tool box:

  1. Acrylic stamp block
    I prefer Stampin’ Up’s Clear Block D. It measures 2-7/8″ x 2-11/16″ and doesn’t take up a lot of room in the case. I’ve found that it fits most stamps I use. I also love how the block is grooved on the sides for easy gripping.
  2. Double-sided Tape
    Most people prefer a certain type of adhesive: glue, tape runner, glue dots. Some people love tape runners and are very adept at using them. Tape runners will also fit perfectly in your tool box. I, however, use double-sided Scotch tape, mainly because I’m about as coordinated at using a tape runner as I am at tying a bow (you won’t see a lot of bows on the cards I design). Stampin’ Up recently introduced two new tape runners, Stamp ‘n Seal and Stamp ‘n Seal+. I’ve used these a few times now with success, meaning that I didn’t end up with sticky fingers and a roll of unwound tape that I can’t roll back into the applicator. I have to use up my supply of Scotch tape before I fully commit to them though.
  3. Glue Dots
    Glue dots are great for sticking down tiny things. Paper Pumpkin kits come with more than enough glue dots to finish the projects you make so I have oodles of sheets of them. You can also order a roll of glue dots from Stampin’ Up or find other versions at your local craft store.
  4. Stampin’ Dimensionals and Mini Stampin’ Dimensionals, also known as “foam popper upper thingies”
    The purpose of Dimensionals is to do exactly what is in the name. They give your projects dimension by lifting elements off the card base. You can also find adhesive foam squares at your local craft store.
  5. Paper Scissor Snips
    The purpose of scissor snips it to precisely cut out small things. Mine are Cutterbees, but Stampin’ Up also sells a nice pair.
  6. Bone Folder
    Bone folders smooth down the creases in your cards; allowing them to lie flatter. In my experience, most bone folders are created equal. You can buy a a bone folder from Stampin’ Up and most local craft stores also sell them.
  7. Pen & Sharp Pencil
  8. Take Your Pick tool
    The Take Your Pick tool is a paper-crafter’s dream multi-tool. One end has tacky putty end that easily picks up sequins, paper accents, and other small objects. The other end has 2 changeable, double-ended tips; one with a with paper piercer and mini spatula and the other with small stylus, and large stylus.
  9. Water color painting pen
    A water color painting pen holds water for easy water color painting. Most of the time when I’m at a workshop where water coloring is required the host usually provides one of these. It is however nice to have your own so you don’t have to wait your turn to use the one provided. Stampin’ Up sells a set of three of these babies with varying brush thicknesses.
  10. Tweezers!
    I love these reverse-action tweezers that I found on Amazon! Once you grab something, they hold on to the item even when you stop squeezing.

I wouldn’t bleach my hair, but bleaching paper is awesome

First of all, I’m happy to announce that Stampin’ Up’s new Annual catalog is live! Have a look.

Today I’m going to feature two of the catalog’s new sets, Celebrate Sunflowers and Forever Fern.

I’ve always thought sunflowers were awesome and have wanted to grow some that are taller than me, which probably wouldn’t be that difficult. Unfortunately, I can’t even keep an aloe vera plant alive. Someday….. (sigh).

Recently I’ve been experimenting with painting bleach on paper with an aqua painter and I love the results. Painting with bleach is as easy as it sounds. I like to put the bleach in an aqua painter so I can keep it contained and it’s easier to control, but I suppose you could just use a regular paint brush and a small cup of bleach. Before you start, test the bleach on a small piece of card stock to see what the color fades to after the bleach does its work. It’s not always what you would expect. Also, you have to stamp with Staz-On ink; any other type of ink will fade along with your paper.

For this card, I stamped the leaves on a piece of Old Olive cardstock. The card base is one of the fresh new In-Colors, Bumble Bee. The tag is made from another product called the Lovely Labels Pick a Punch, which is one of my favorite new things because you can use it to make custom-sized labels in two different styles. The Celebrate Sunshine stamp set also has a companion die set called Sunshine Dies, which is what I used to cut the sunflower and leaves with.

Product List

The next card I made uses the Forever Fern stamp set. I have some ferns growing beneath my deck and I haven’t killed them yet, mostly because they pretty much don’t need any help from me.

I stamped the leaves on a Just Jade (another new In Color) piece of cardstock for the background paper and applied bleach to the leaves, which surprisingly turned them light turquoise blue. I used the dies from the Forever Flourishing companion die set to cut out the black leaves, which I layered on top of the background piece.

Product List

May Paper Pumpkin: A Kit in Color

The May 2020 Paper Pumpkin is vibrant and playful. It comes with all of the supplies you need to make the three card designs pictured above (four of each design), a Misty Moonlight Stampin’ Spot, and the photopolymer stamp set pictured below.

This kit features four of Stampin’ Up’s five new In Colors that will be available June 3rd when the new annual catalog gets released.

The colors featured in the kit are Just Jade, Bumblebee, Magenta Madness, and Misty Moonlight. As you can see in the pictures at the top of the page, the kit uses these colors to create some unique patterns, both on the envelopes and the cards themselves. Some might even call them groovy, or reminiscent of the Psychedelic ’60s and ’70s.

I always say not to be afraid of cannibalizing your envelopes when creating alternate versions of your kit’s cards, which is what I did to make the card pictured below.

I used the insides of the envelopes and a square from of the Just Jade card base for the pattern pieced square. I separated the back of the Just Jade card base and used it as a card front, which I mounted on a Whisper White card base. I even used a white scrap from one of those cut up envelopes for the white square layer.

For my next card, I challenged myself to use only the kit’s stamp set and included ink pad to create a card on a single white card base. This card required several different stamping techniques including, masking, sponging, and stamping off.

If you’re a new Paper Pumpkin subscriber and have a minimal amount of other paper-crafting supplies, I highly recommend buying a set of envelopes and white card bases so you can extend the use of your stamps and ink. Although you can pick up a pack of card bases with coordinating envelopes at most craft stores, I highly recommend buying them from Stampin’ Up. Their Whisper White paper has an ultra smooth surface which helps your stamped images to be clean and crisp.

Product List